Canon had a very good run with the C300 and then Sony hit back with both the F5 and F55 and more recently the FS7. Canon recently dropped the price of the original C300, bringing it closer to the FS7 and yesterday announced the C300 mark ii. So how do the cameras stack up in the battle for the mid range?

Firstly, the C300 mark ii has only just been announced and won't be available until September 2015 and the price could theoretically change by then, but this is how it stands now.
| Internal specs |
FS7 |
Canon C300 mii |
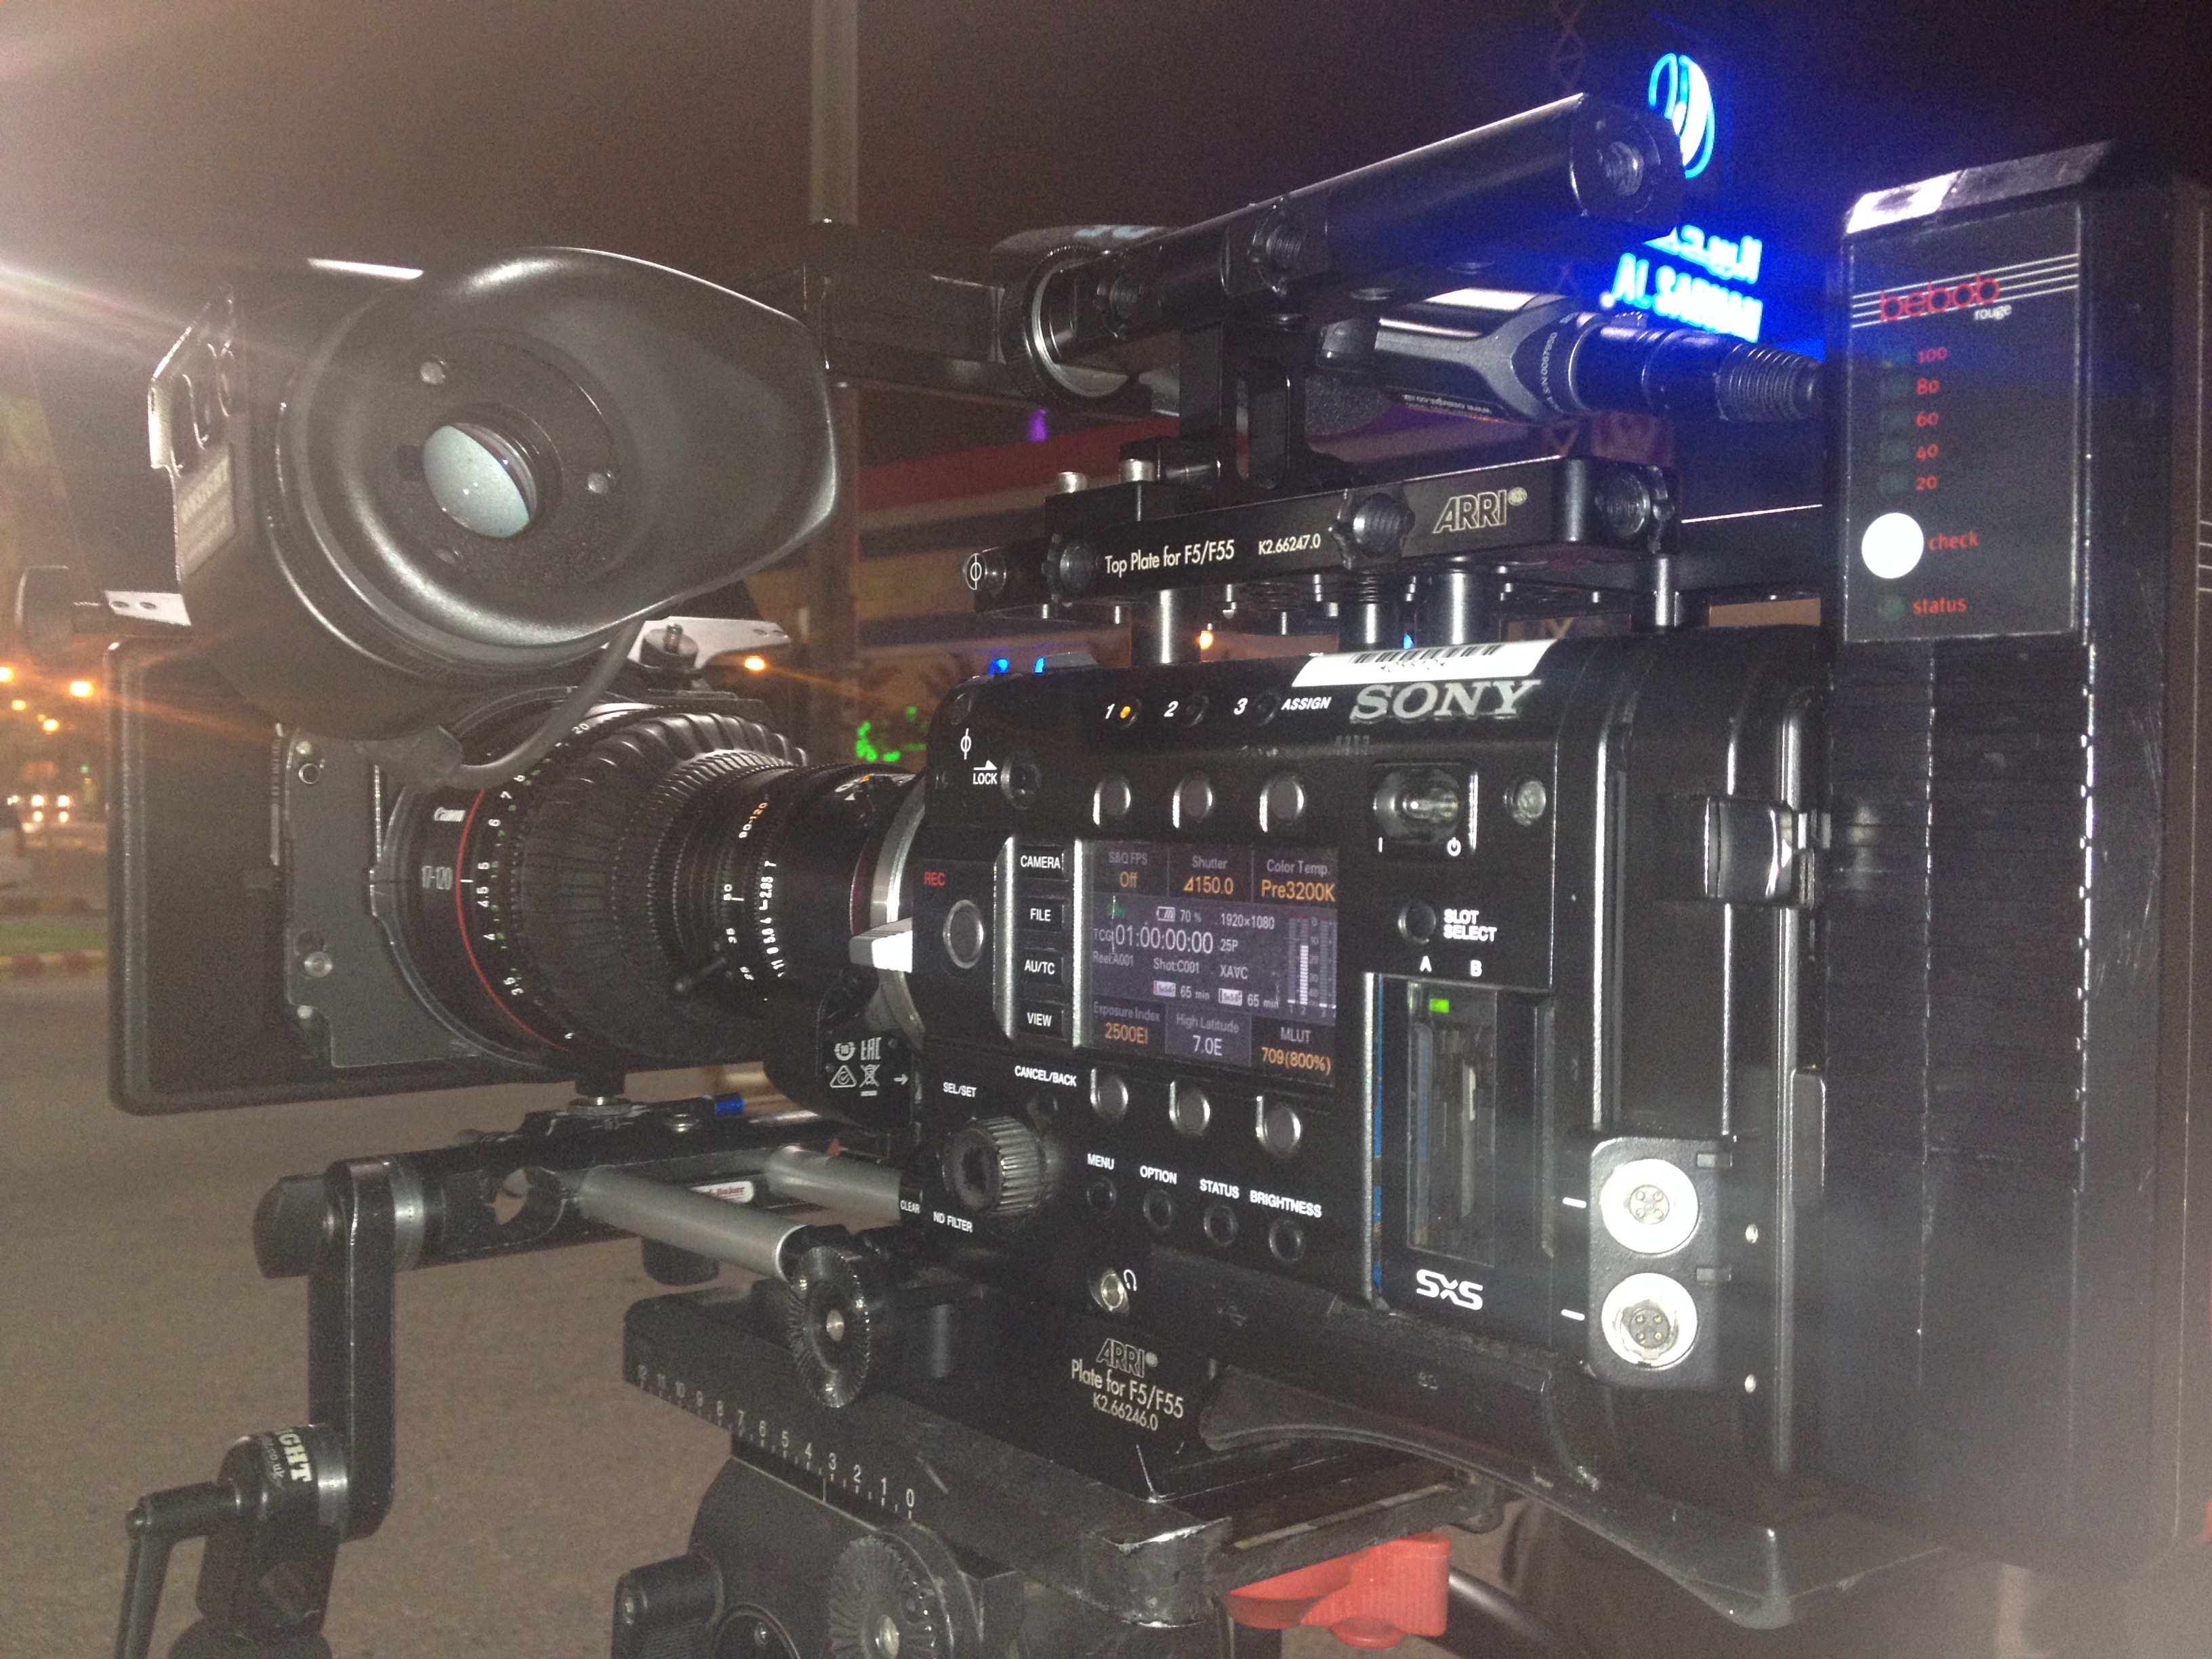
F5 |
| Sensor |
Super 35mm |
Super 35mm |
Super 35mm |
|
Resolution
|
4k |
4k |
2k |
| Slow mo |
180 @ 1080 |
120 @ 2k CROP |
120 @2k |
| ISO sensitivity |
2000 |
800 |
2000 |
| Dynamic range |
14 stops |
15 stops |
14 stops |
| Record format |
XAVC 10 bit |
XF AVC 10 bit |
XAVC 10 bit |
| Price |
$7,999 |
$15,999 |
$16,490 |
Comparing cameras is a tricky thing. The easy part of it is compairing the specs, like "top trumps" for cameras, even this, however, has its issues. Numbers such as those released for dynamic range may not be true or exact. Subsequent test after cameras are released are often different from those advertised by manufacturers. Above all else, one camera may often look a whole lot better than another camera, but the numbers may not reflect this at all. The next point is about individual tastes. Some people happen to love the super clean look of say a RED camera, whilst other prefer the more natural look of an Alexa. It may also be job specific. Clean colours may work better on a certain commercial, whereas more filmic tones might be better for a documentary. The next point to be made is that when a camera hasn't even been released it gets really difficult. The videos released from a manufacturer could have been very heavily graded. These days, with enough work, one camera can be graded to look very different from the image that it originally spat out. With that it mind you could think: I'll just buy any camera I feel like buying and someone can sort it out in post. However, as we all know, masses of programmes and items we shoot are not sent to a proper grading suite, or in some cases graded at all, therefore we need to buy something that looks good out of the box, but at the same time can shoot pictures with enough information in them so a colourist can go to work on it without the whole picture falling to peices. With all of this in mind let's take a look at how the C300 markii stacks up against the Sonys.
When you look at the specs and the pricing of the C300 mark ii against the Sony F5 it makes sense (despite the F5 now being over 2 years old), it's when you compare it to the FS7 that things get confusing (as the FS7 is very cheaply priced and has amazing spcecs).
Sony F5
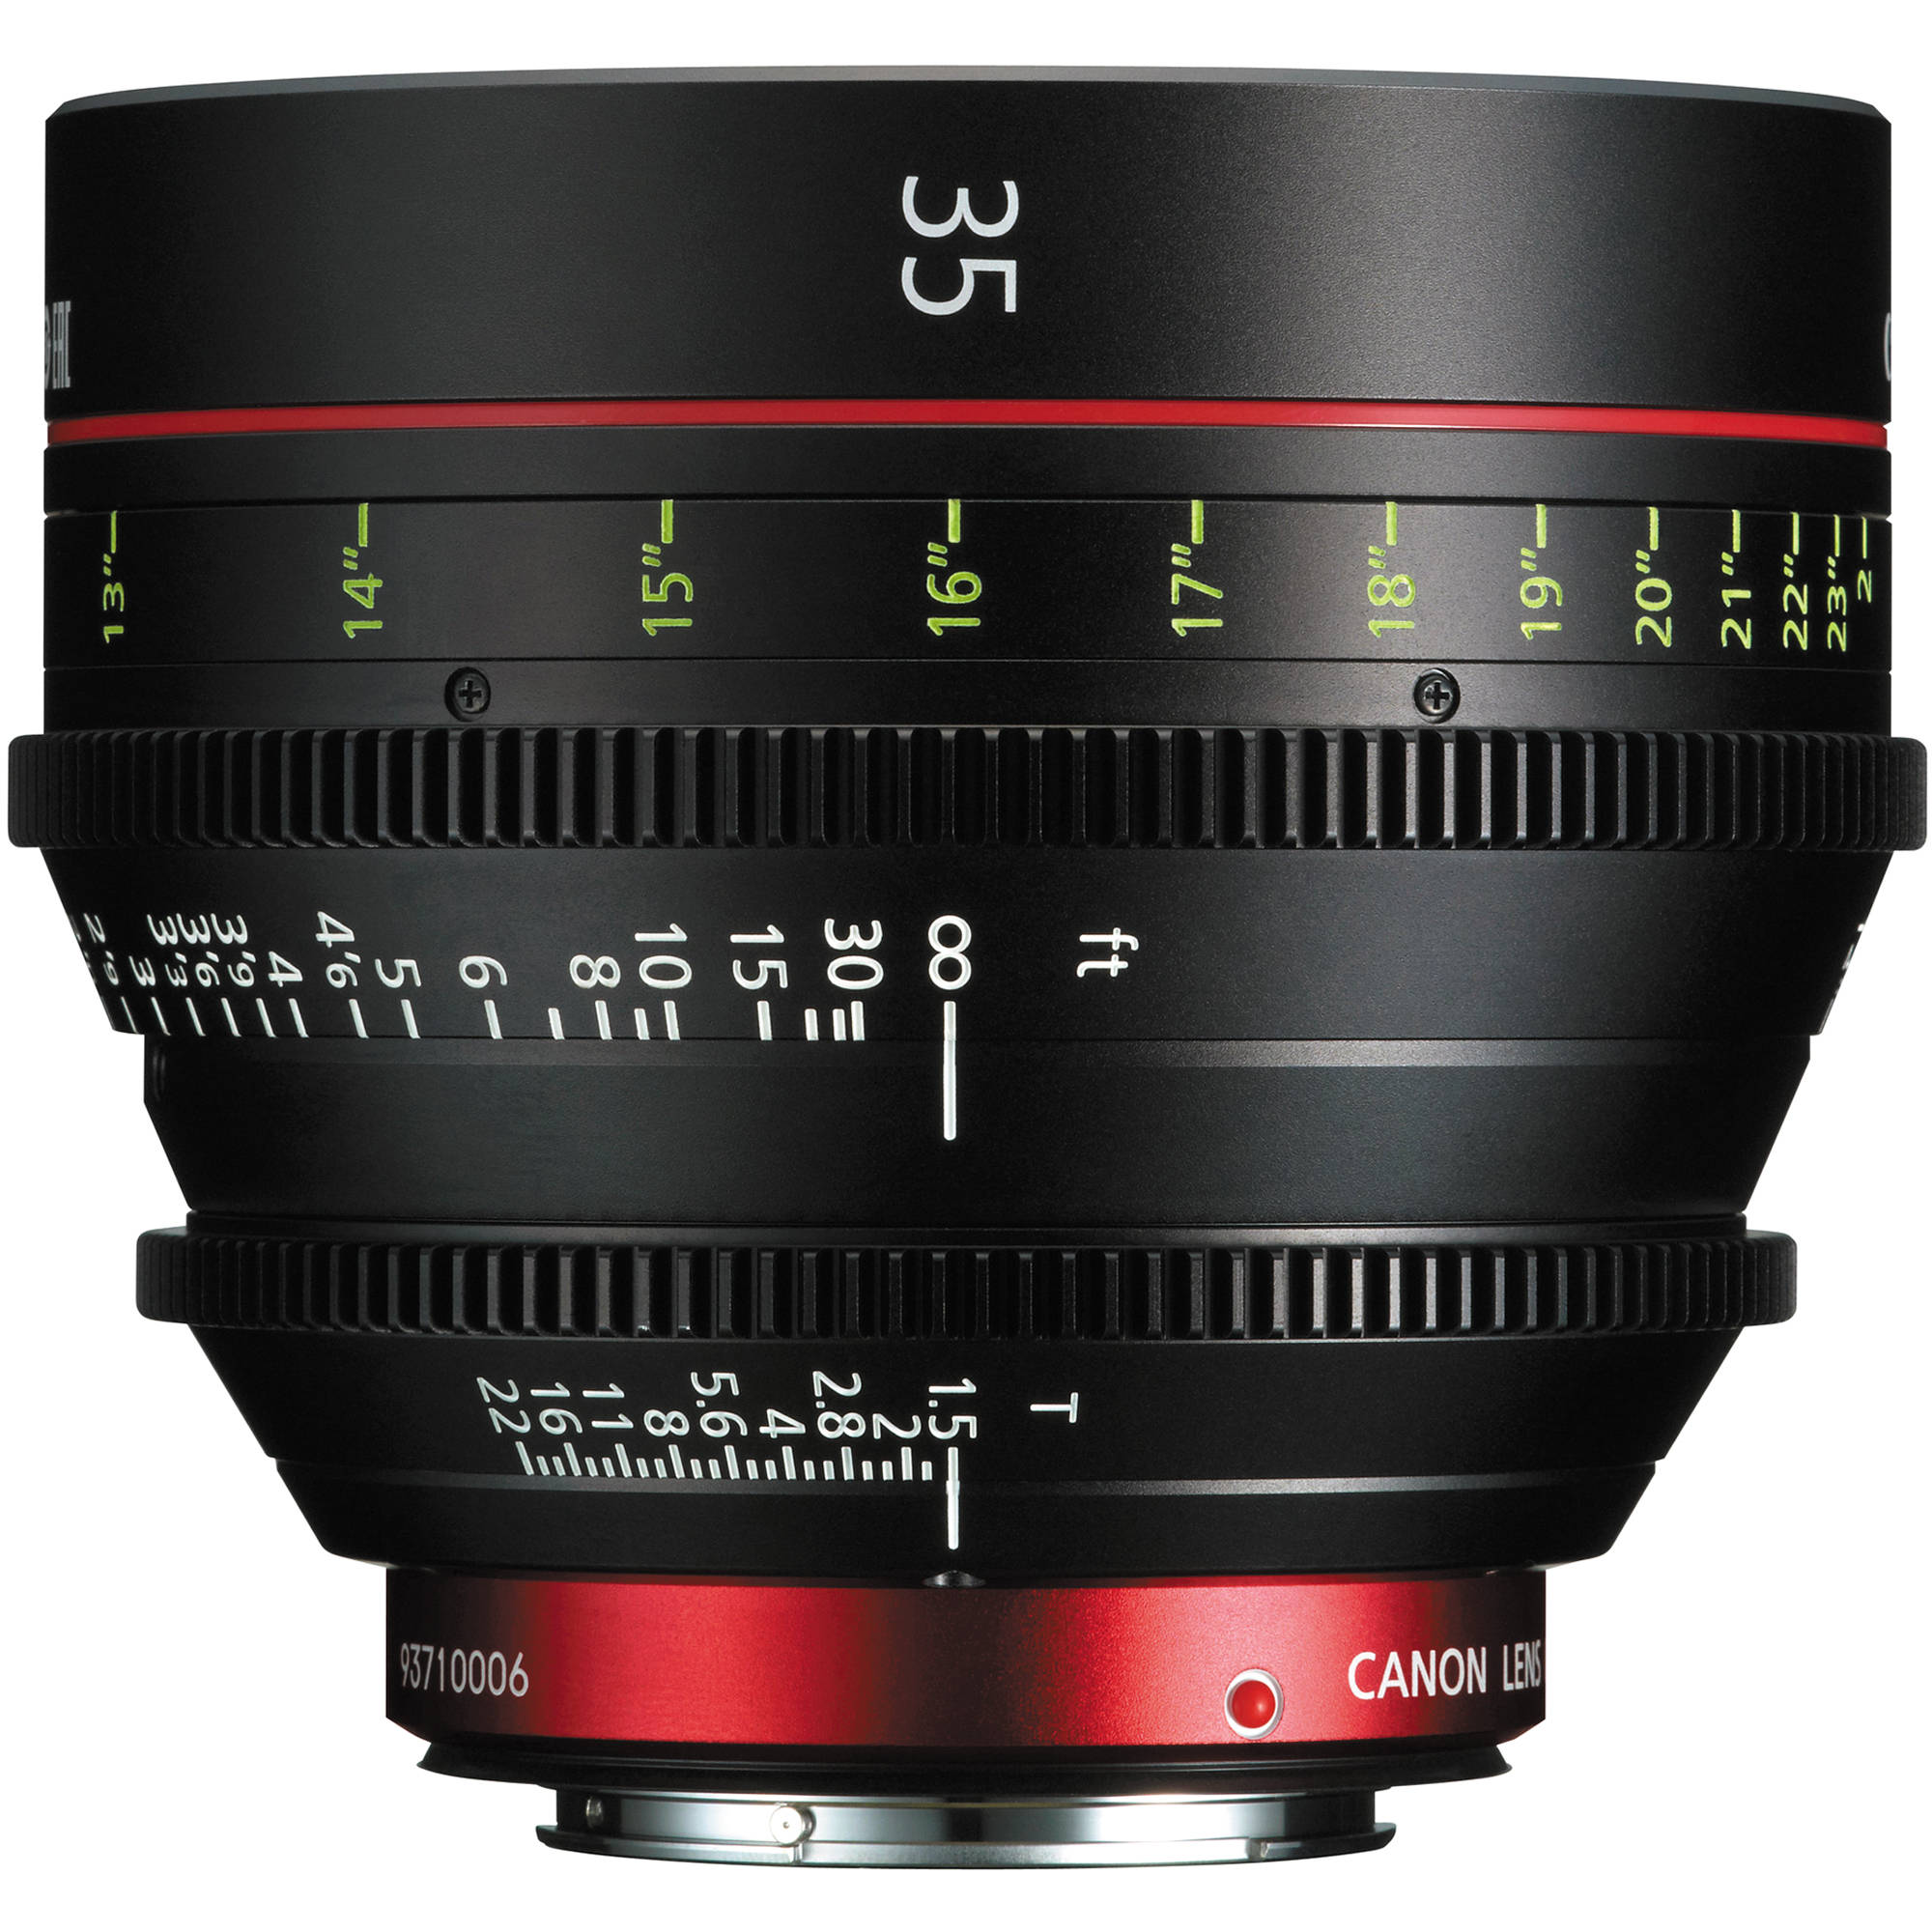
To begin with let's look at the F5 and the C300 mark ii, as they go for a similar price. There are certain advantages the F5 and C300 mark ii cameras have against each other. The F5 is slightly more user friendly when it comes to ergonomics, with a proper dedicated eye piece it can be mounted on the shoulder more efficiently (although you do pay extra for the eye piece.) The slow motion capabilities are way better with the F5. The F5 uses a full scan to achieve slow mo, whereas the C300 mark ii only works with a centre crop. This could be a total pain. Imagine shooting on a 50 mm and then you decide you want slow mo, on the F5, no problem, on the C3002 you have to change lenses to a 25mm to achieve the same frame, or move the camera back. Either way, not idea. The F5 is FZ mount camera, it comes with a PL adapter or you can remove this and add an adapter and shoot EOS lenses. This makes the F5 more verstile as there are more lens options here. The Canon C300 mark ii is purchased as an EOS mount, if you want PL you need to get it attached by Canon. The F5 also has the advantage of a bolt on external recorder, which ups the cameras specs, particularly the slow motion, and you can now upgrade the camera to 4k, at a cost (or hack). With regards to price, as it stands now, the F5 will end up costing you a bit more, but not much. You need to pay for the view finder (which is optional on the C300 as you could choose to make do with the LCD. The F5 uses V lock batteries which are a little more pricey, although good quality, last for years and can be used for other purposes such as powering other cameras, LED lights etc. Having said this Canon's mark ii batteries are currently priced pretty highly, these could well drop down if the camera proves very popluar. The Sony F5 uses S by S cards, whereas the C300 mark ii uses Cfast cards. My guess is that the CFast cards will drop in price more quickly as people start to buy in quantity. All of that said your full set up will end up marginly more expensive on the F5.
To recap the F5 has:
- Better ergonomics
- Better slow mo
- Better lens options
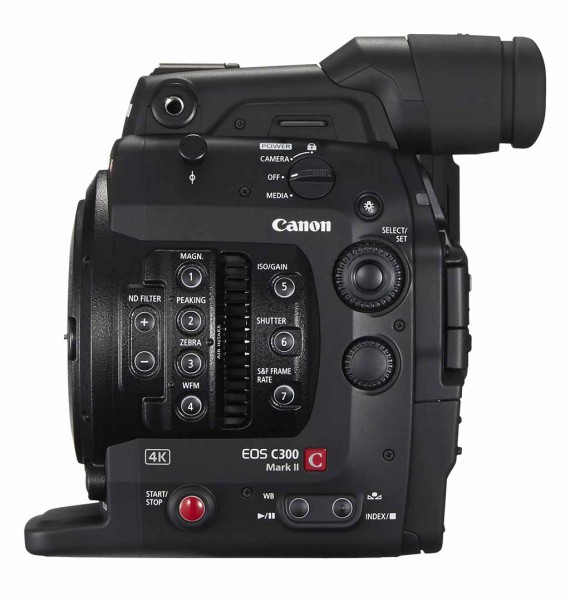
Canon C300 mark ii
So what advantage does the C300 mark ii have? Firstly an extra stop of dynamic range, 15 stops is claimed by Canon. Obviously there is some scepticism with DPs and cameramen when it comes to claimed DR. Some manufacters exaggerate, others do not. Early impressions seem to suggest the camera will actually get pretty close to those 15 stops. If you want to look into the dynamic range of the mark ii check out Geoff Boyle's test Geoff Boyle is a respected cinematographer that has taken screen grabs and video pushing the C300 mark 2 7 stops under and over correct exposure.
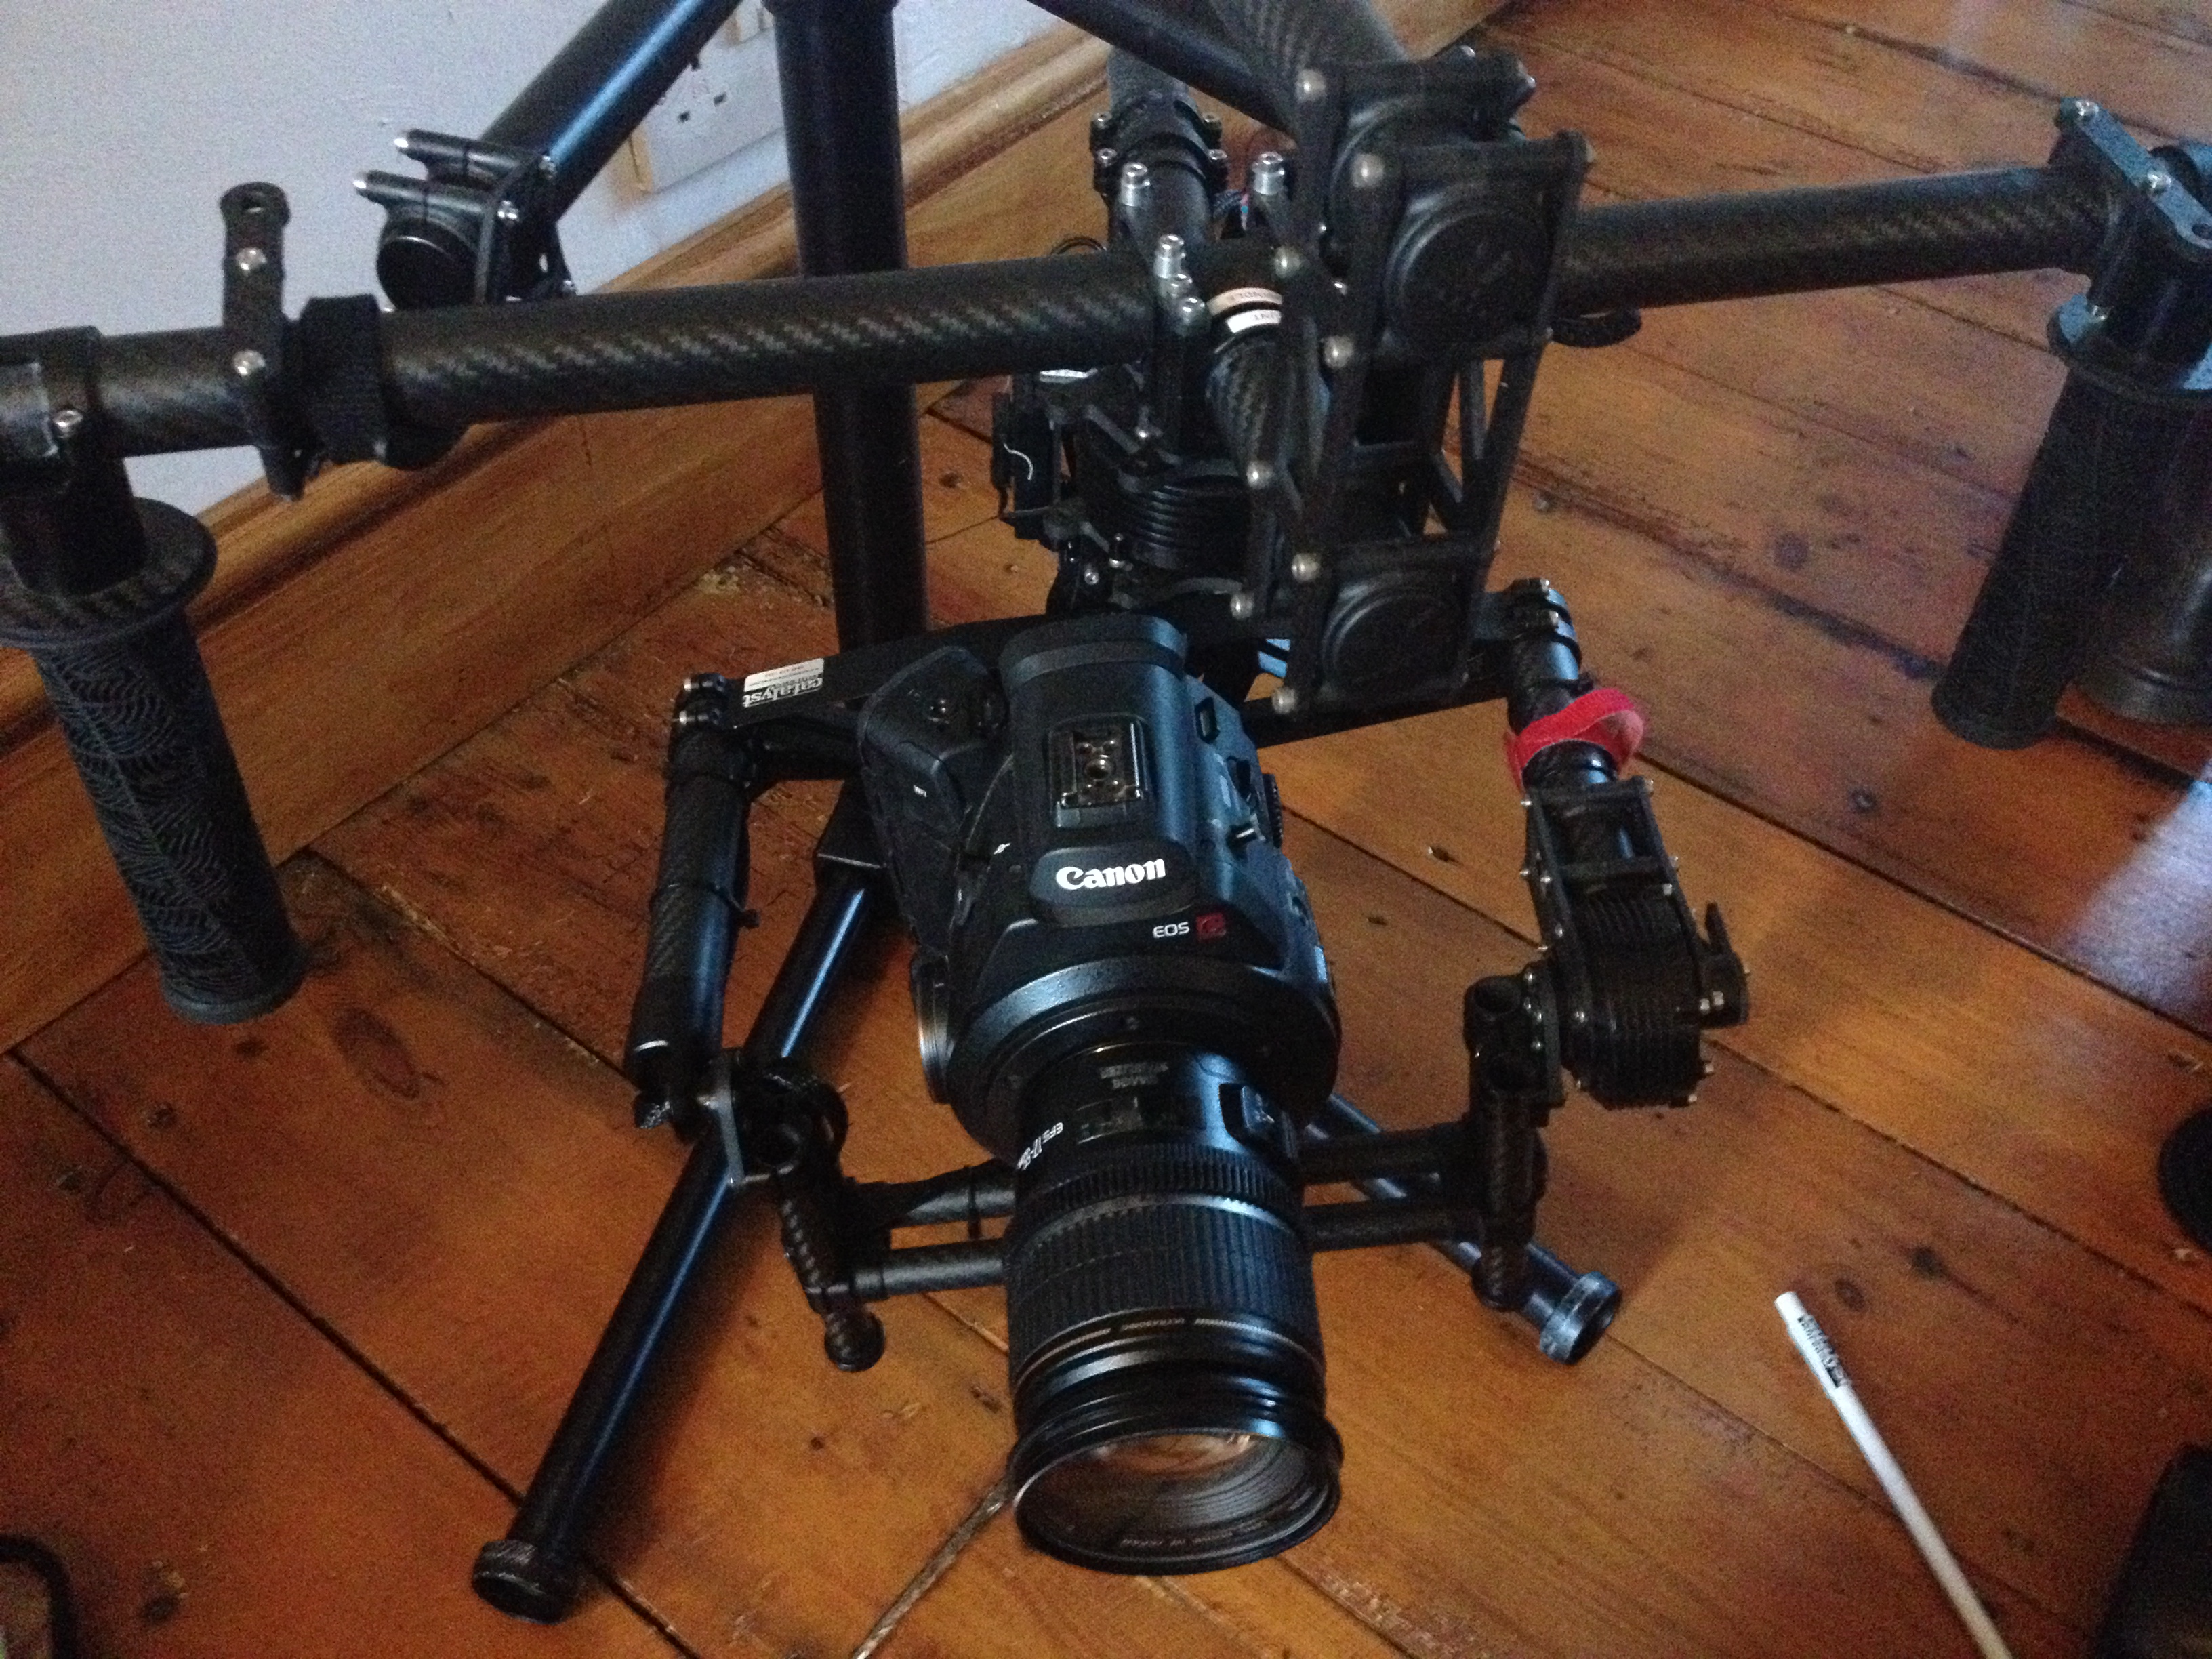
The next big point here is the focusing system. I was incredibly sceptical when I first heard about this, and thought it sounded like a gimic, certainly not the kind of thing I would want to use. However, the more I have seen this in use on videos and so on, the more I have been impressed. I like the idea of the DAF system, where the camera tells you whether to pull focus closer or further from the camera, and I have also been suprised at how good the face tracking is. If you can put this camera on a jib or gimbal and the auto focus actually works, it will be a very impressive add on. However, as yet we just have test videos to go on. More of this here. The pluses for the focus system is that it can track someones a face as it moves around and that the focus can be controlled to move quickly or slowly. From watching the videos, it also does not appear to hunt all over the place for focus in the way a stills camera would.
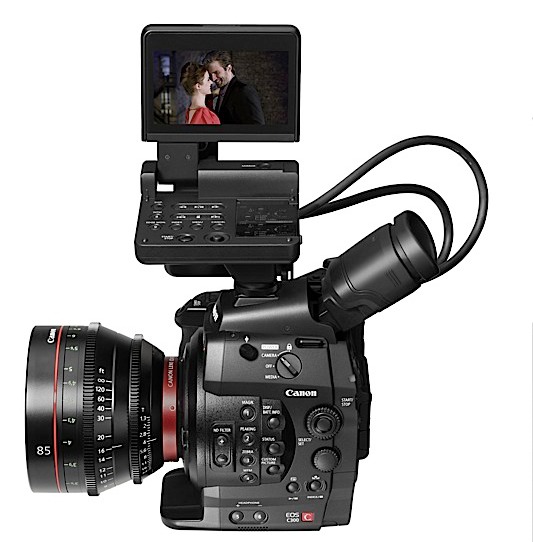
Canon started off with good colour reproduction, great skin tones and a camera that was very easy for broadcasters to work with. They seem to be continuing along these lines. The ergonomics haven't been improved much although there are lots of little updates where needed.
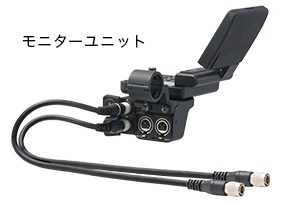
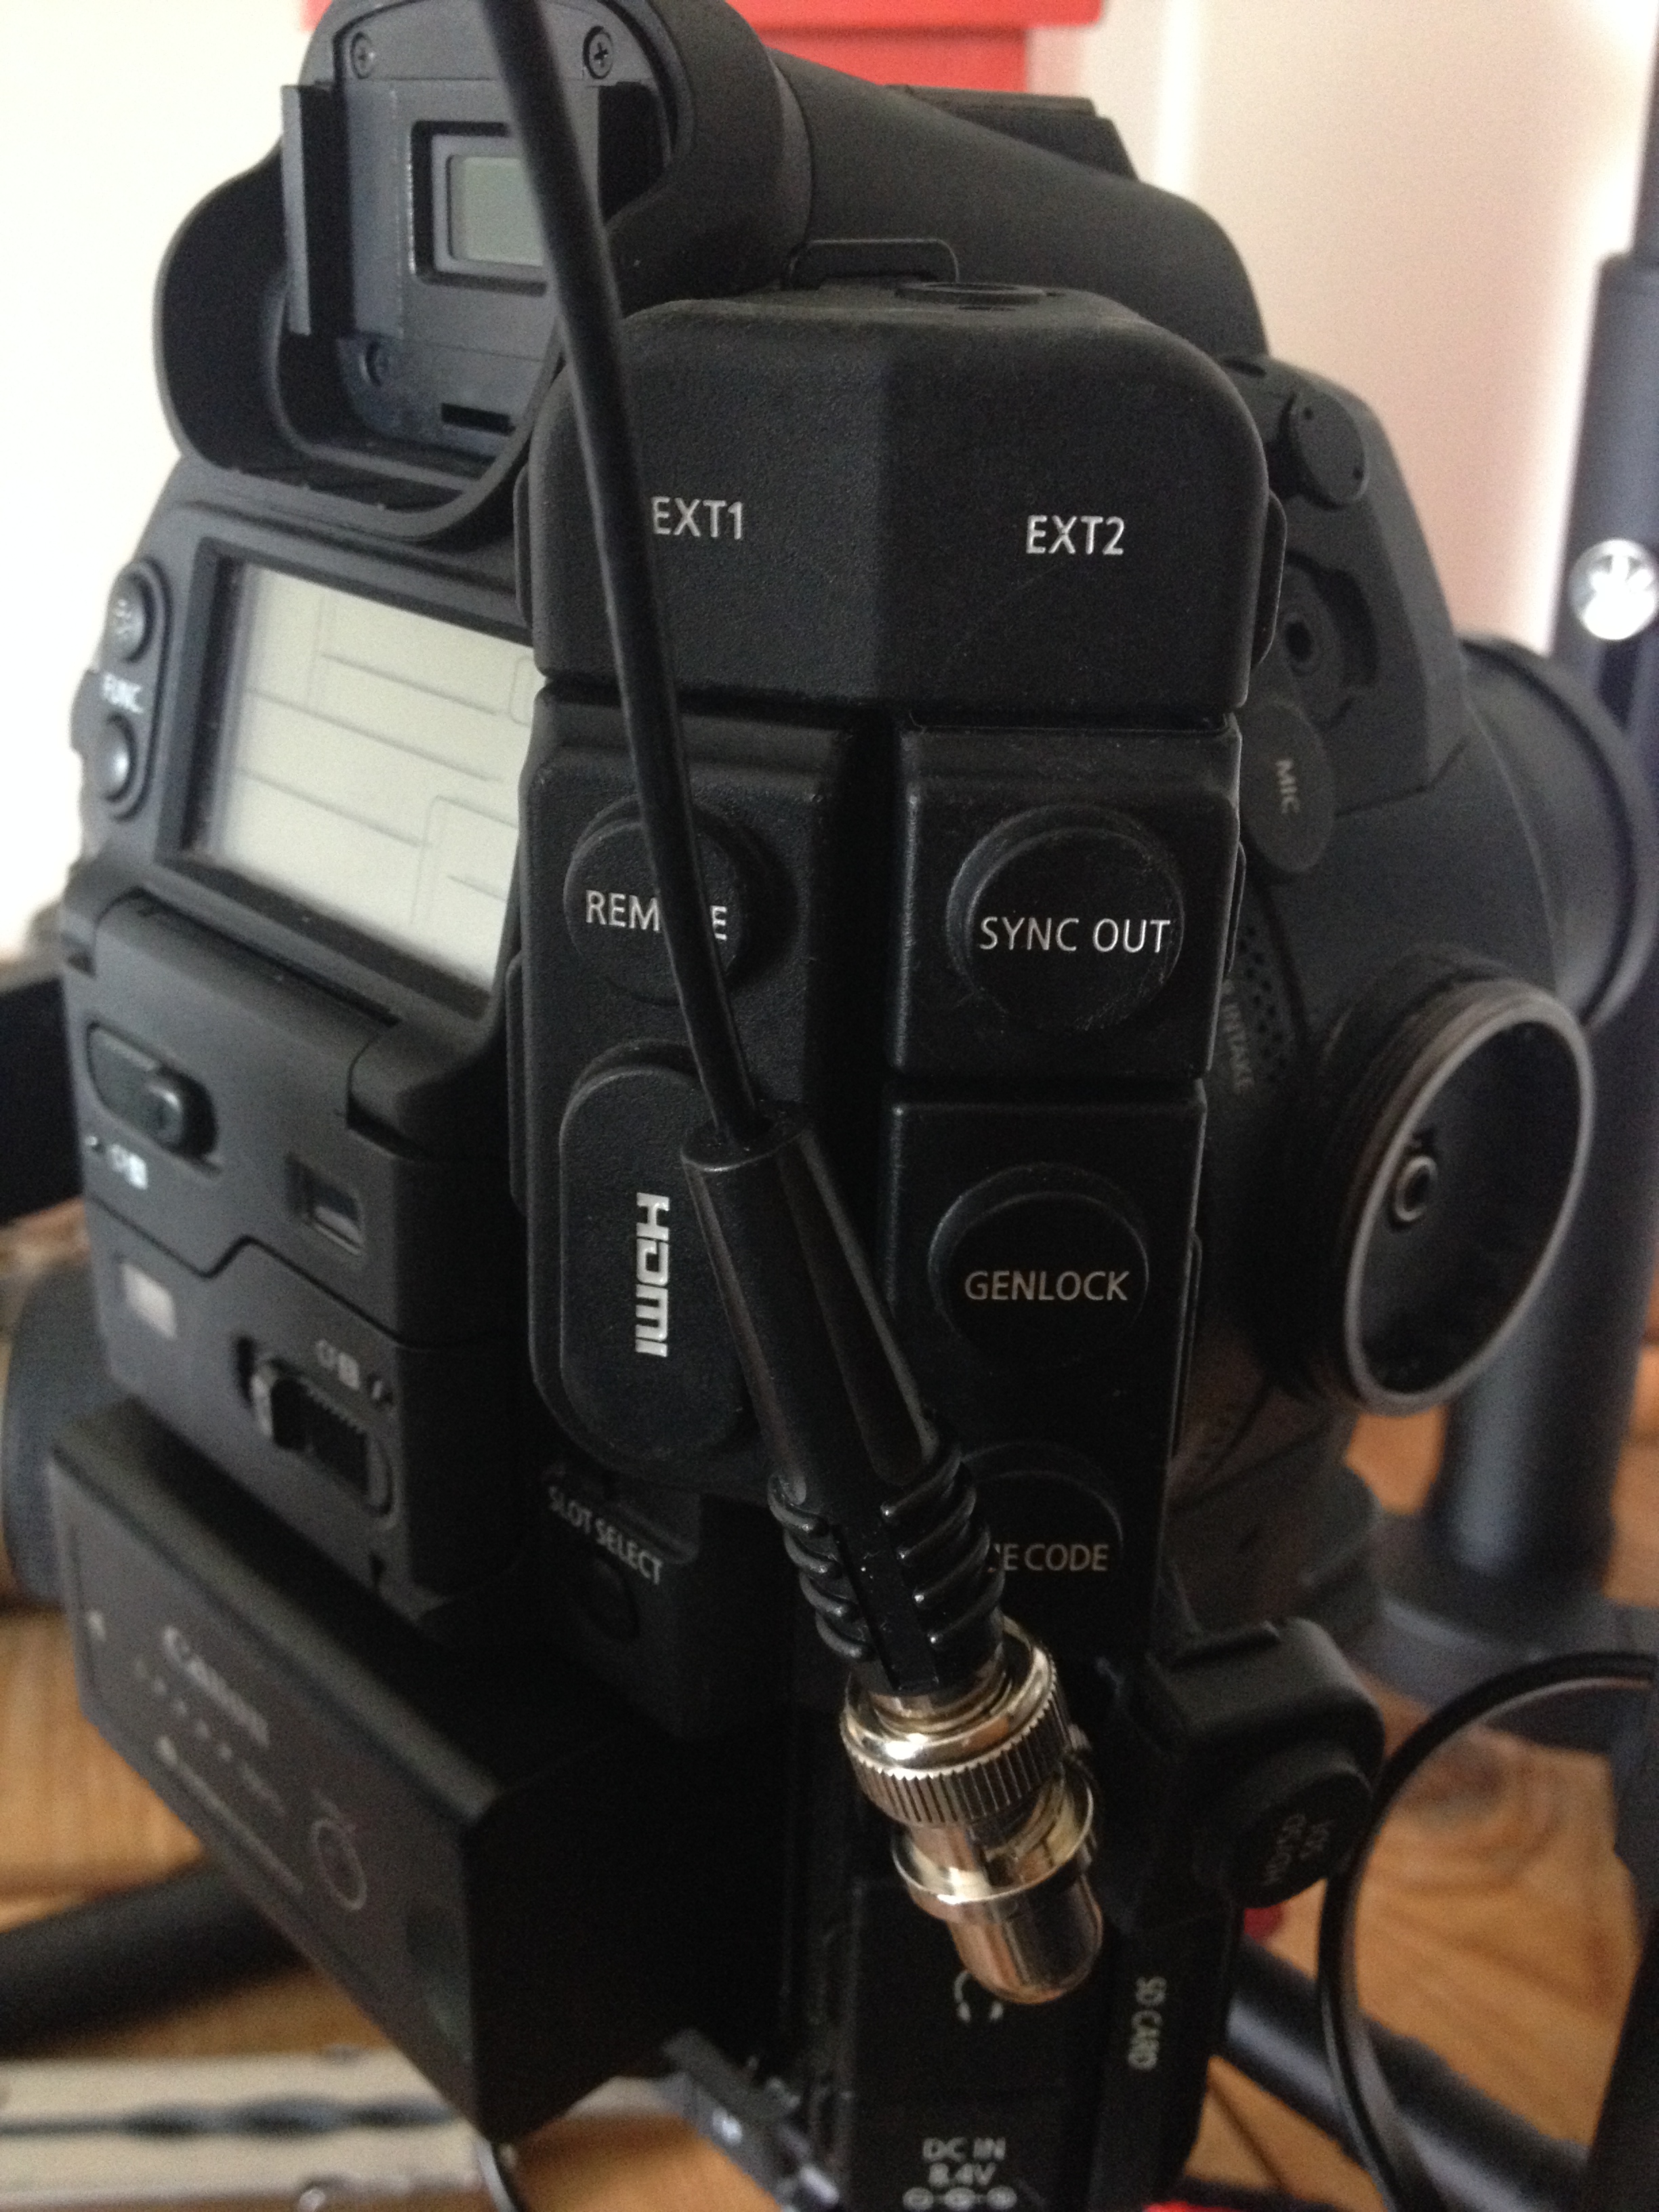
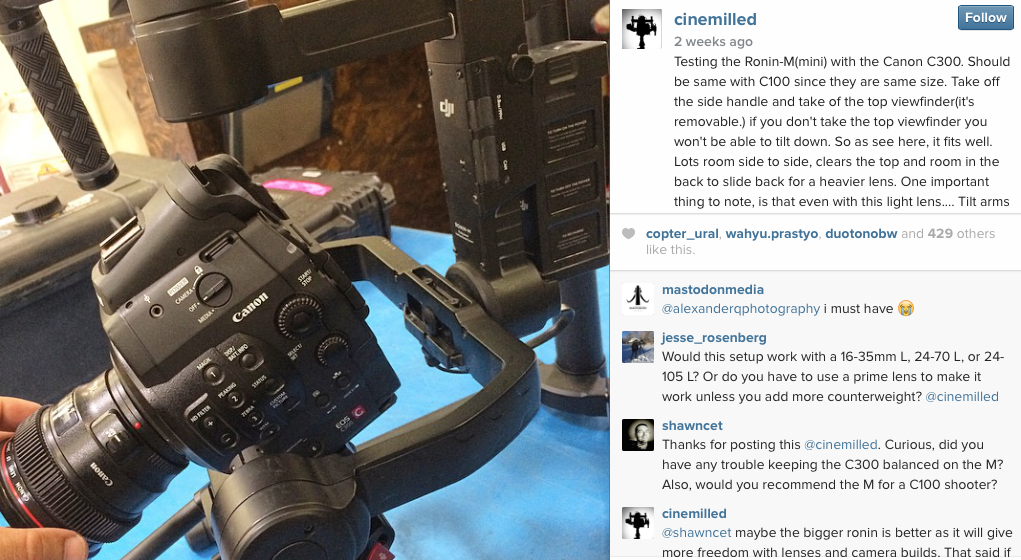
A good improvement in the C300 mark ii is the removable cables connecting the LCD module to the camera. The number of C300 rental cameras I have seen with broken cables that have been replace by Canon is unreal. Crazy when you think the camera has to be sent off to Canon, loosing the owner shooting days. (In the picture the Japanese says "Monitor Unit" - (this is the first time my limited Japanese has ever been useful on my blog)
There is also the improvement of the top handle: the weak one screw has been upgraded with a top helmet, which screws to the top of the camera, and then a couple of hex screws attach the handle. The handle also has a few monting screws and options, which could prove useful. (Mounting a top light is always a bit tricky with the C300 and this could be easier with the mark ii).
Again, something that I'd be interested to try is the pixel comparison focus assist. in addition to the auto focusing mechanism, Canon have come up with a system that tells you on the monitor if a certain area is in focus or not. If this sounds a bit like peaking, it isn't. Apparently, this is a very acurate system which will tell the user which way to focus ie. whether the lens needs to be focused further or closer to be in correct focus. I think this looks like a great idea, if you want to read more on it, this is covered in more detail in Should I buy the new C300 mark ii?
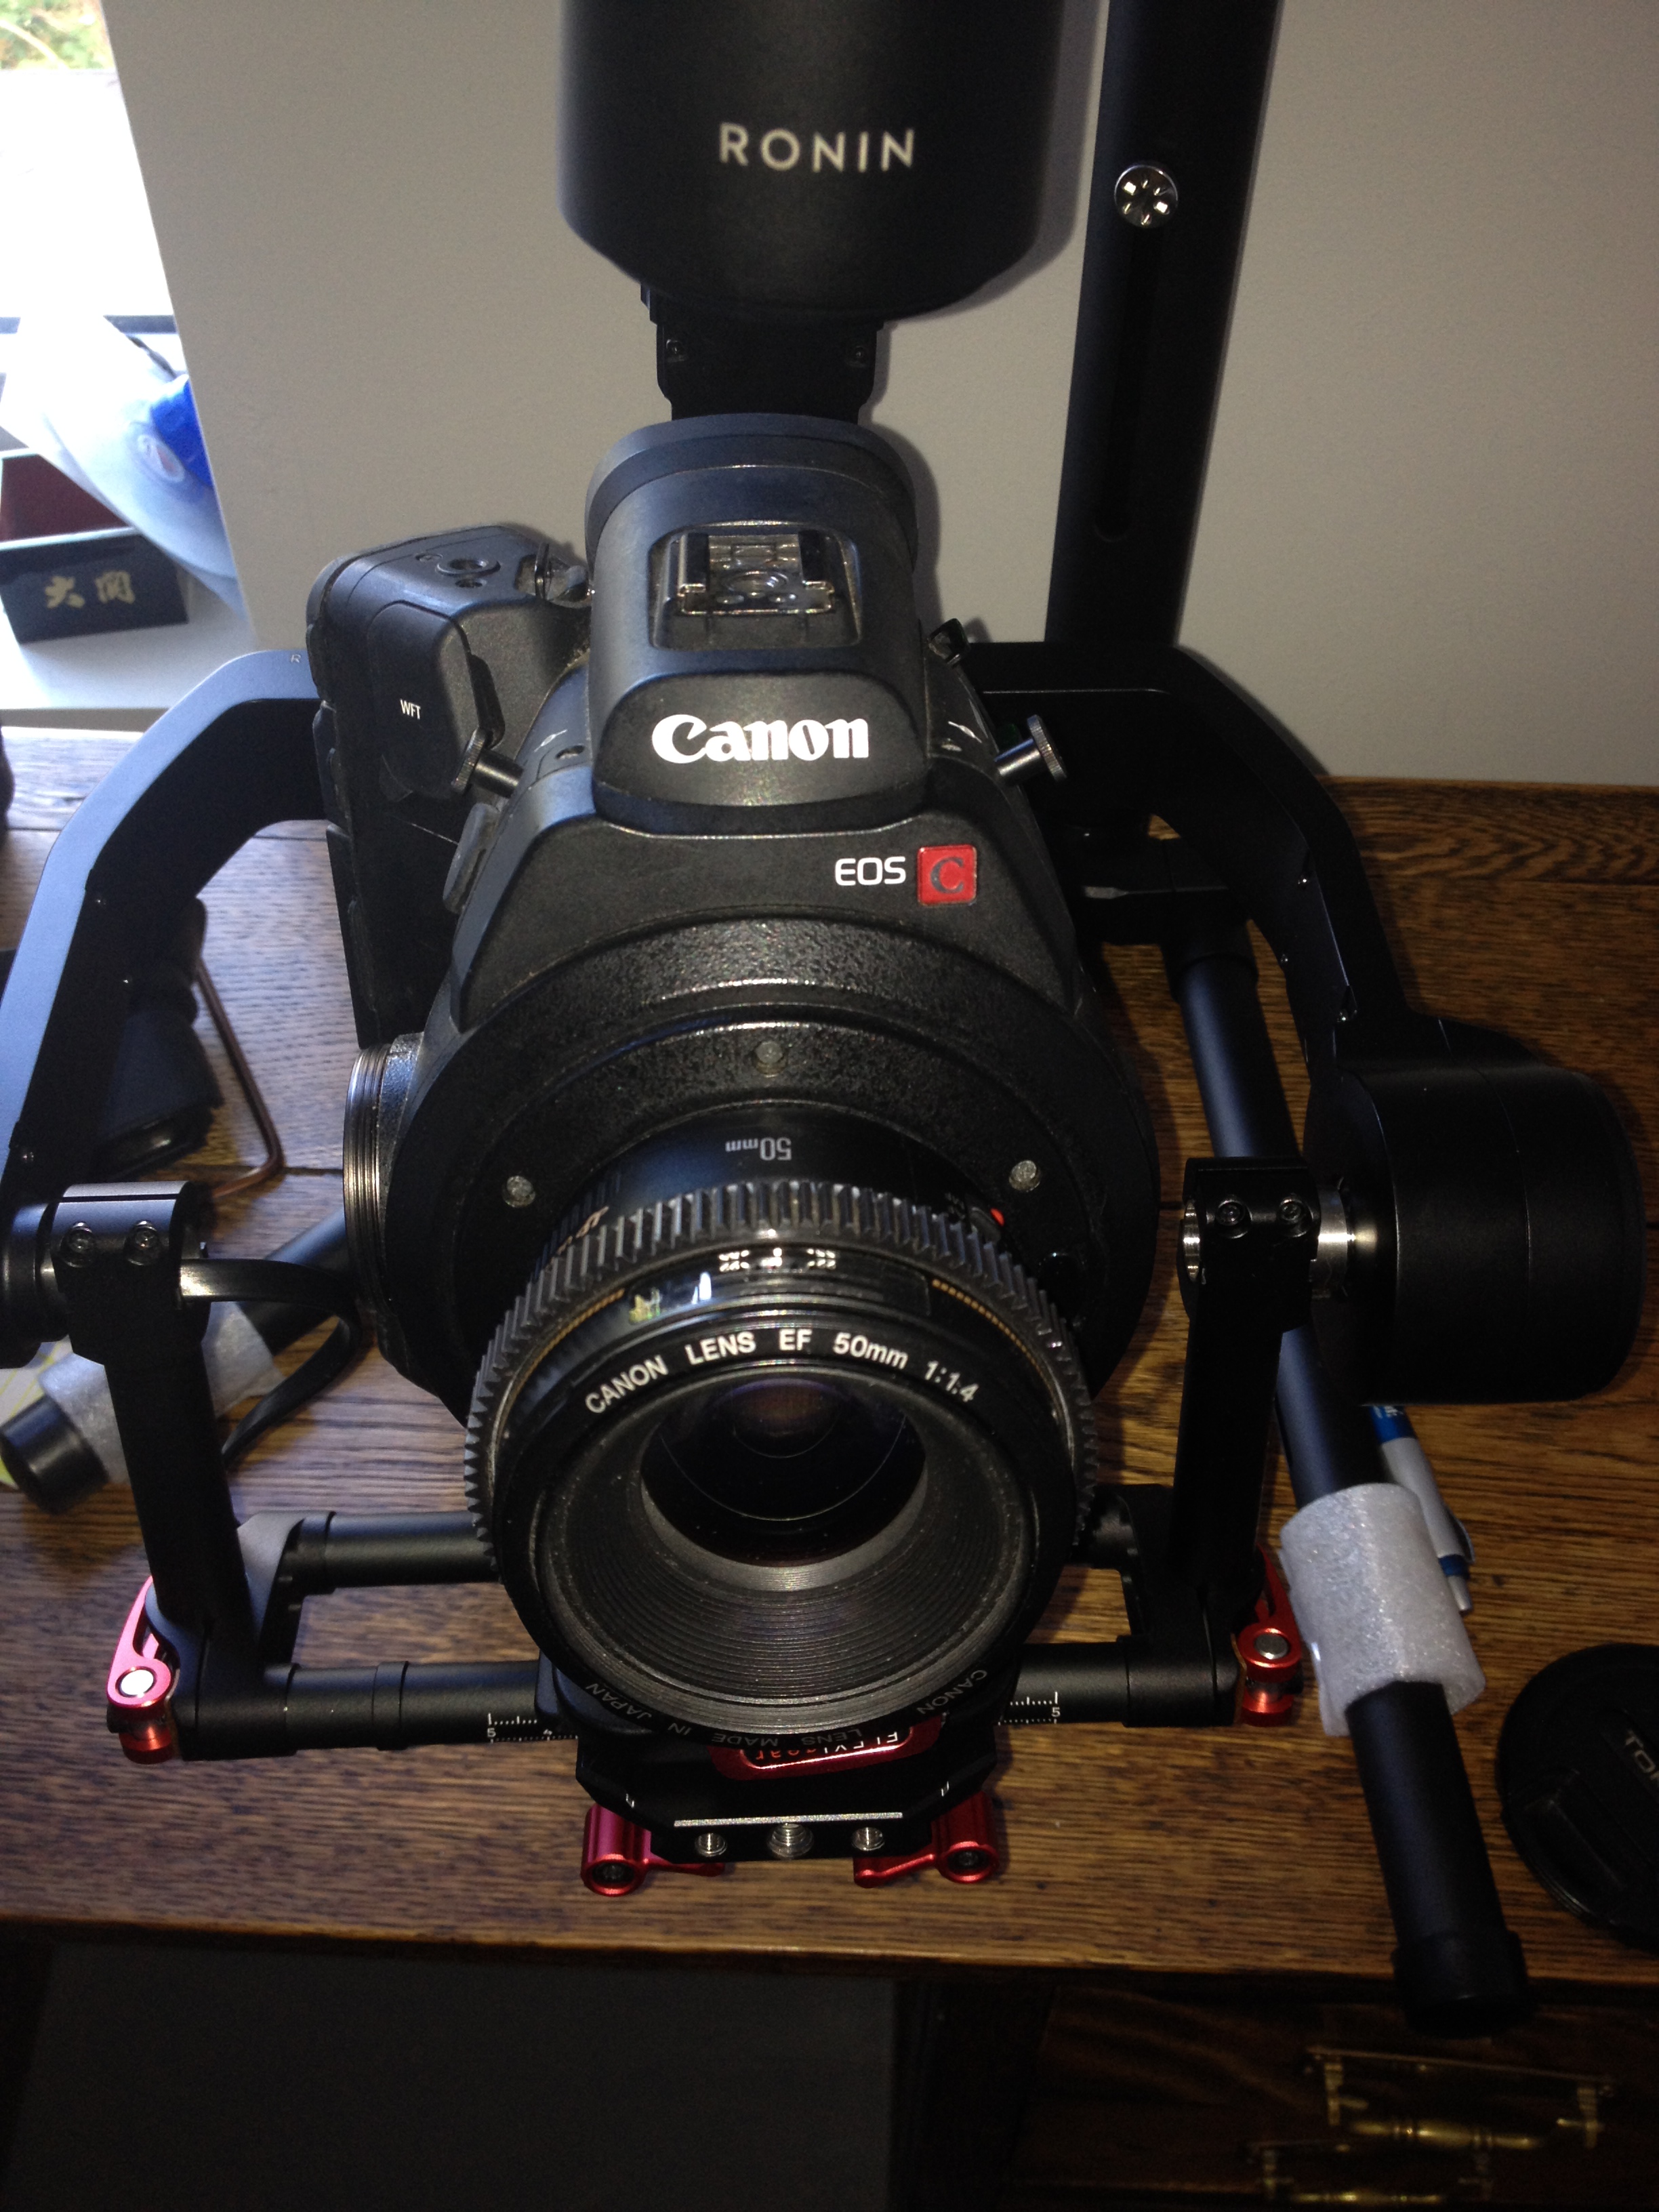
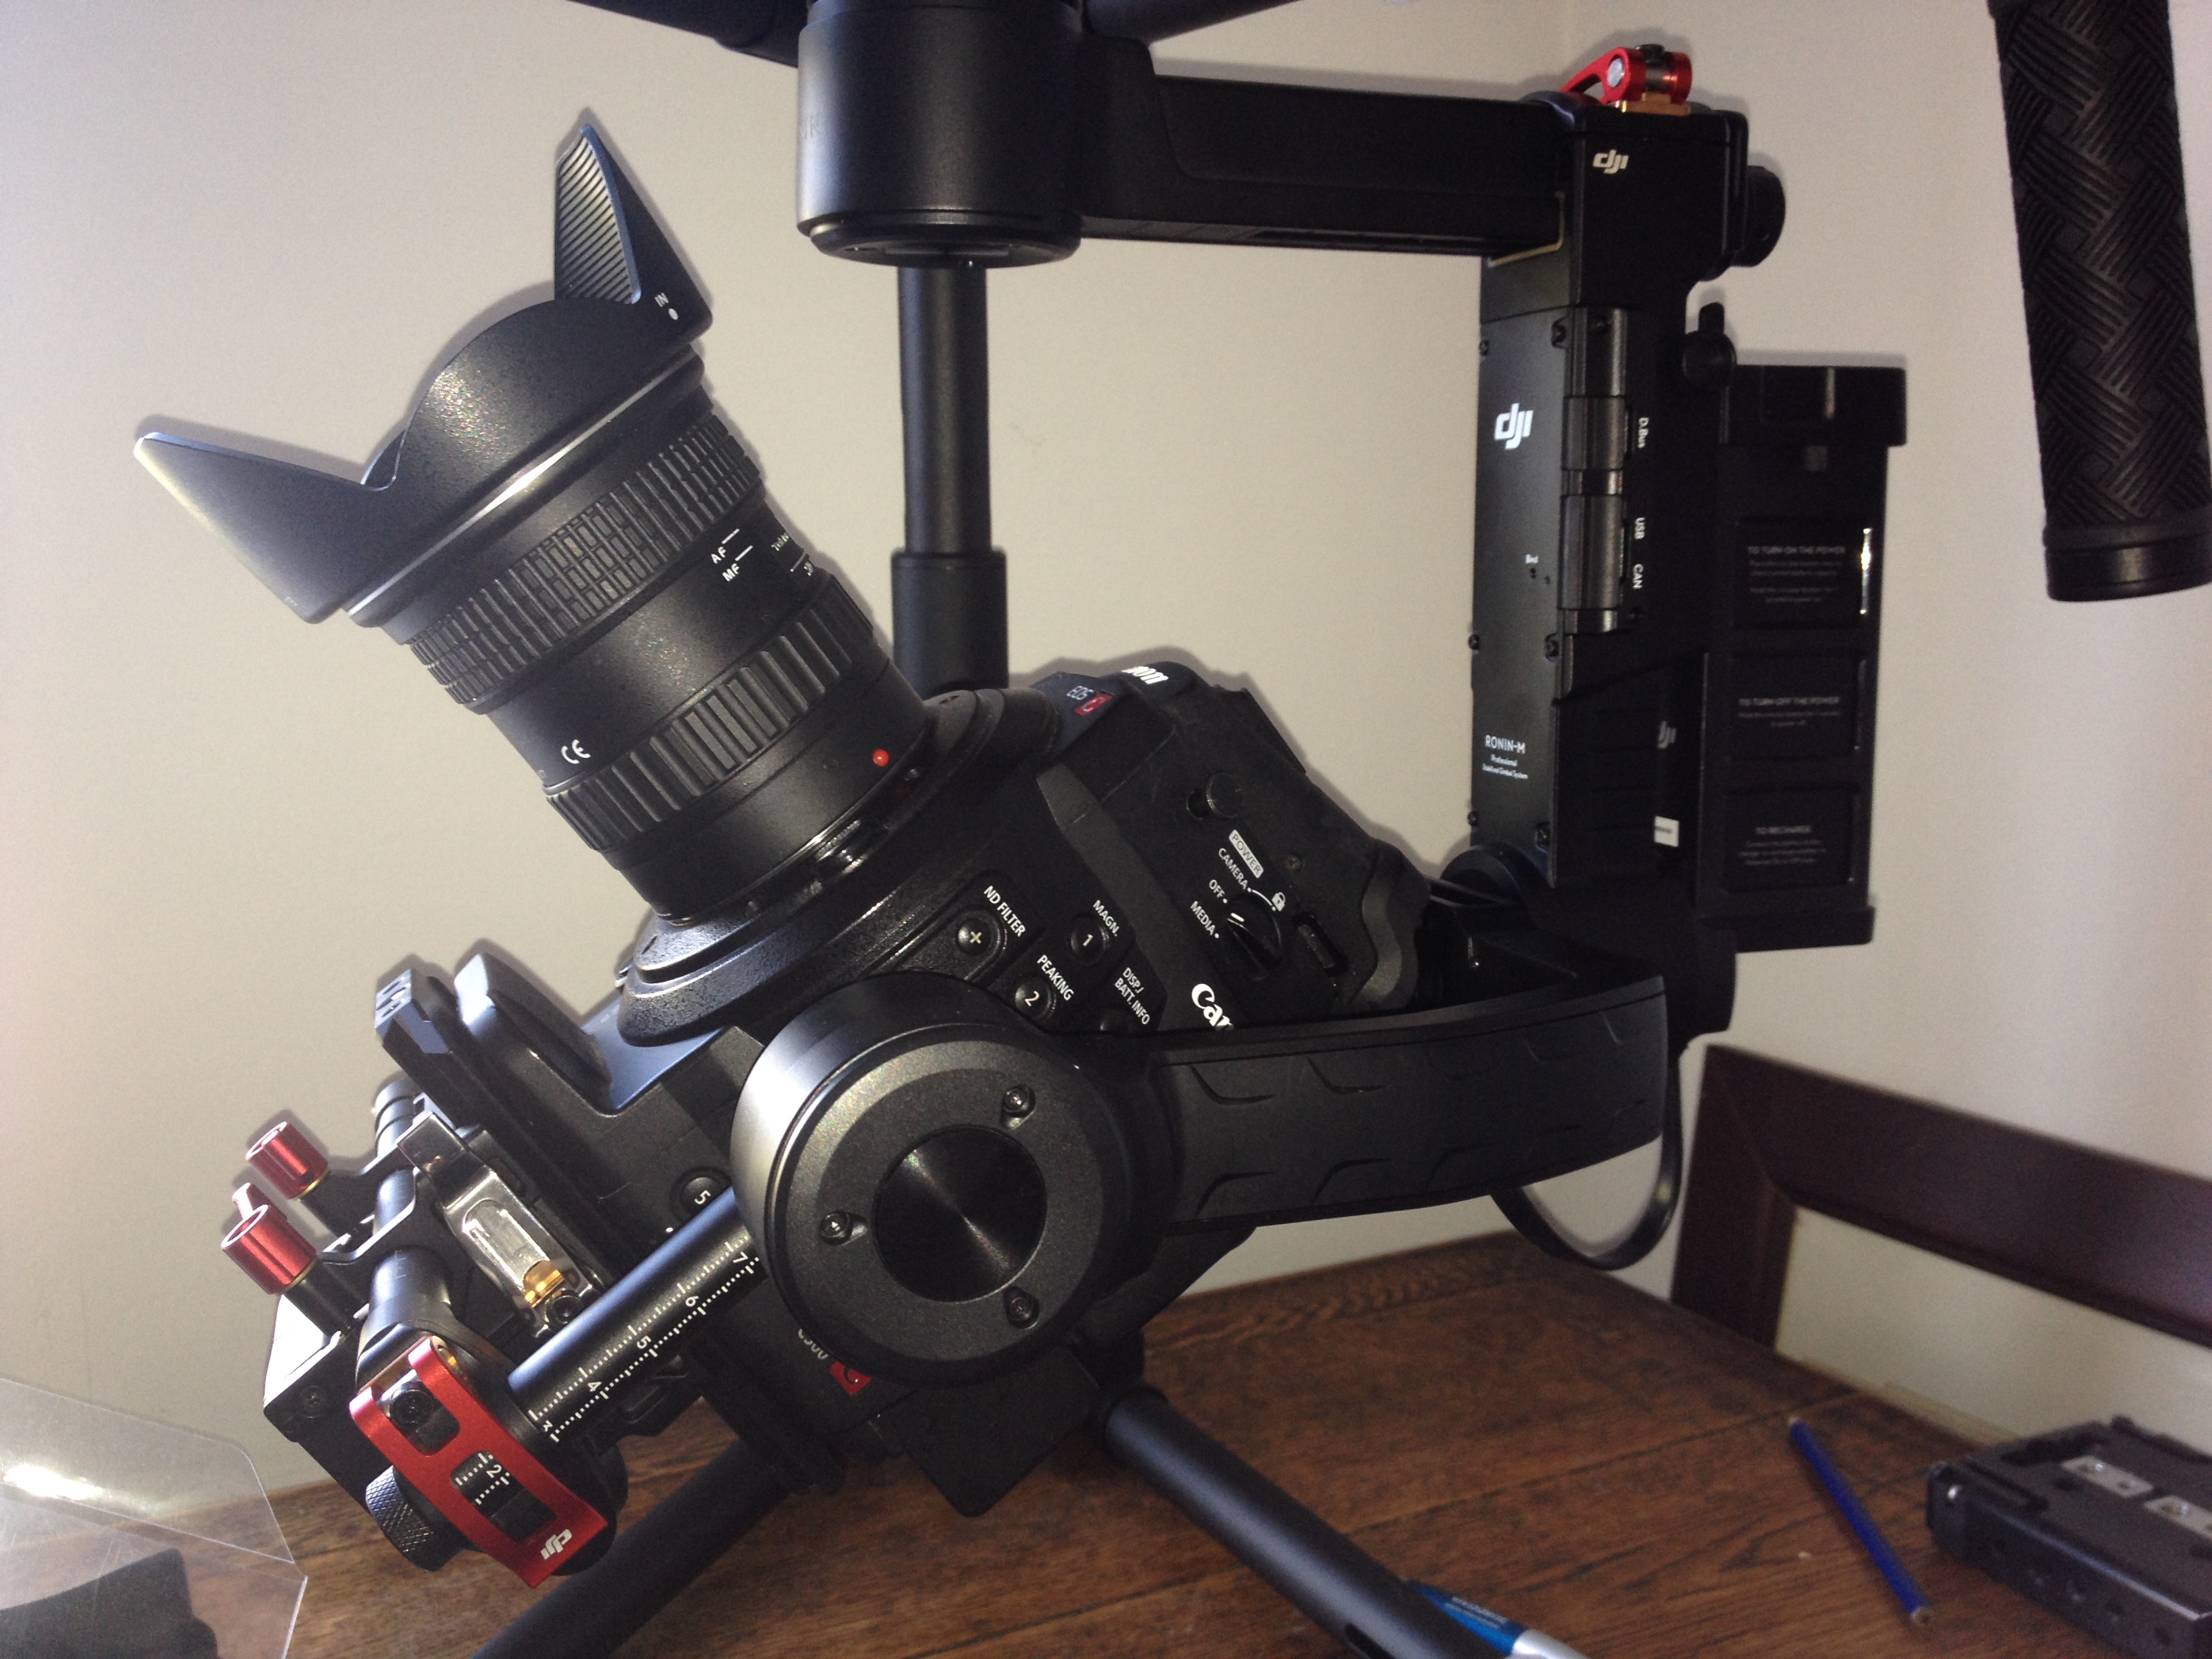
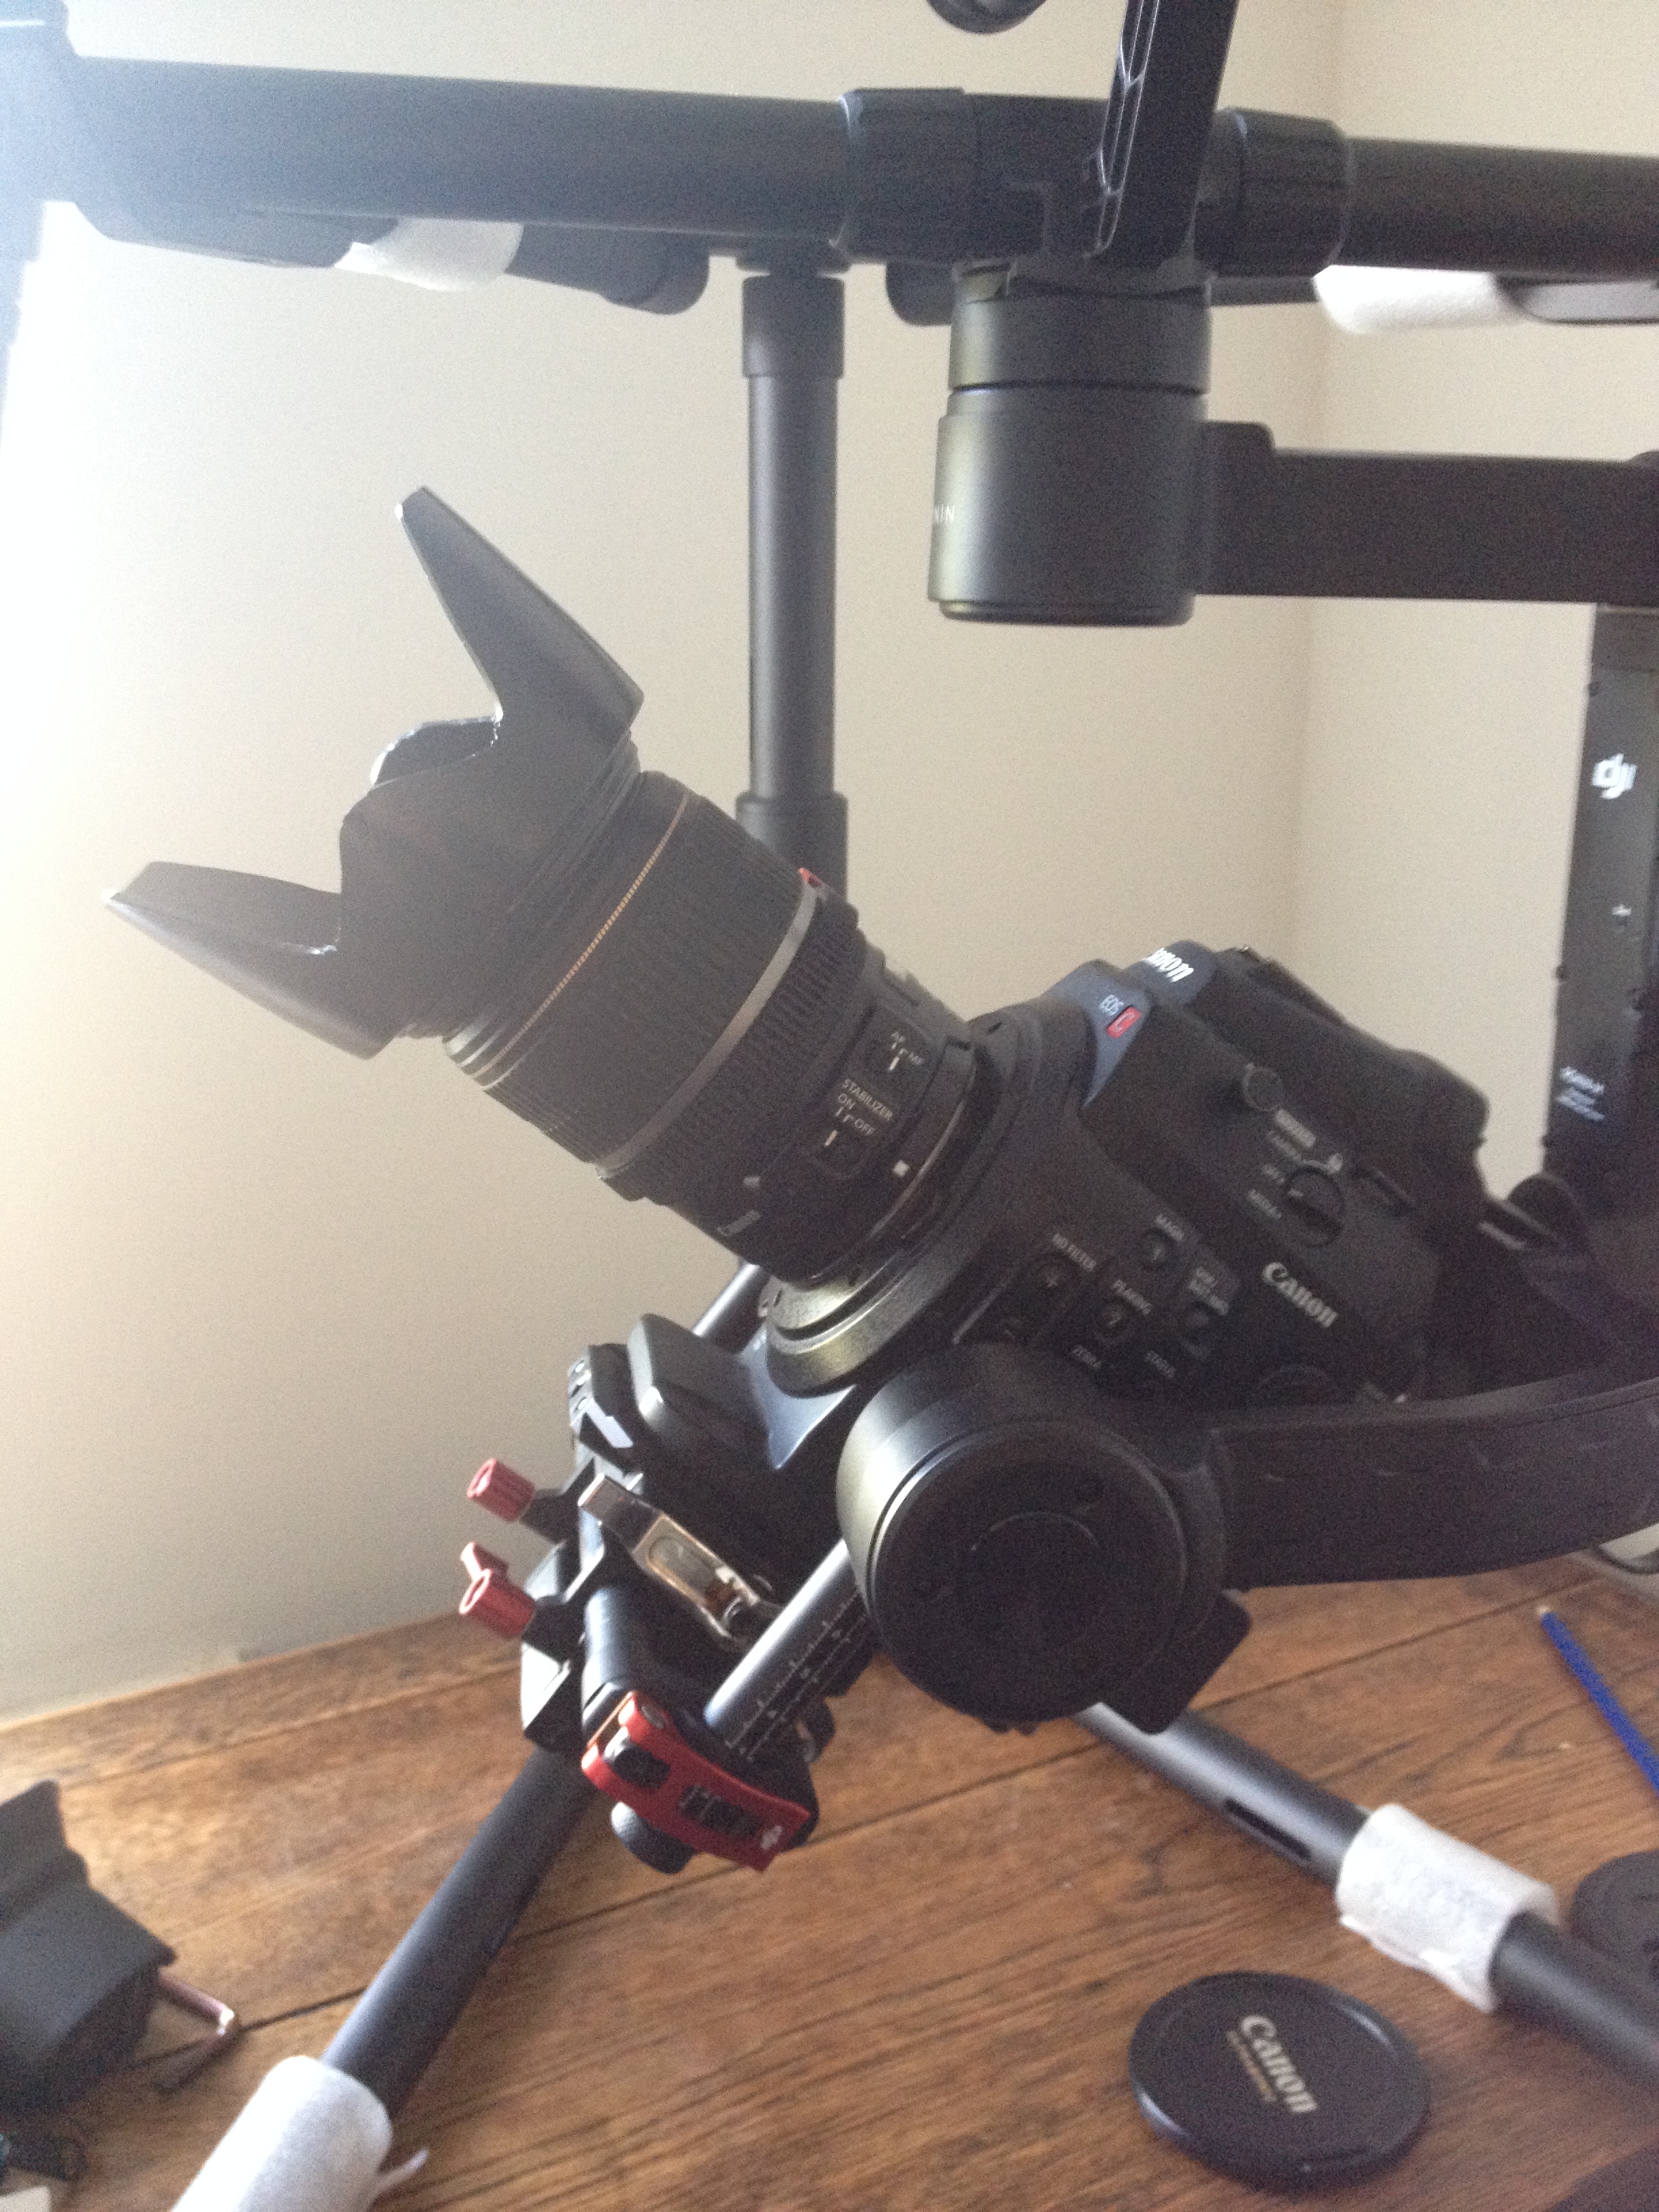
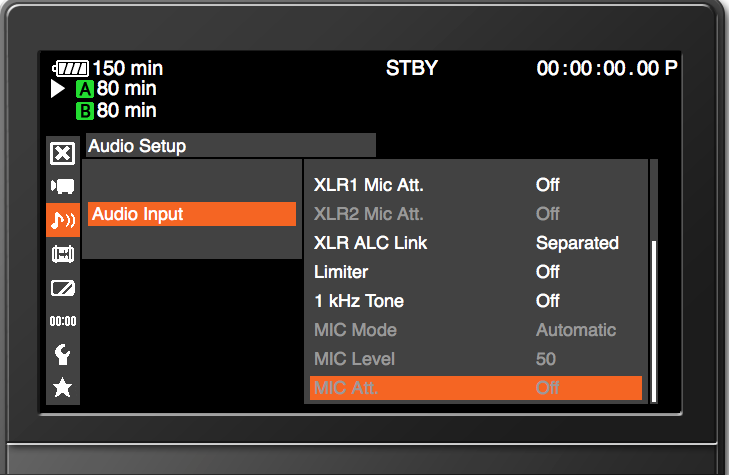
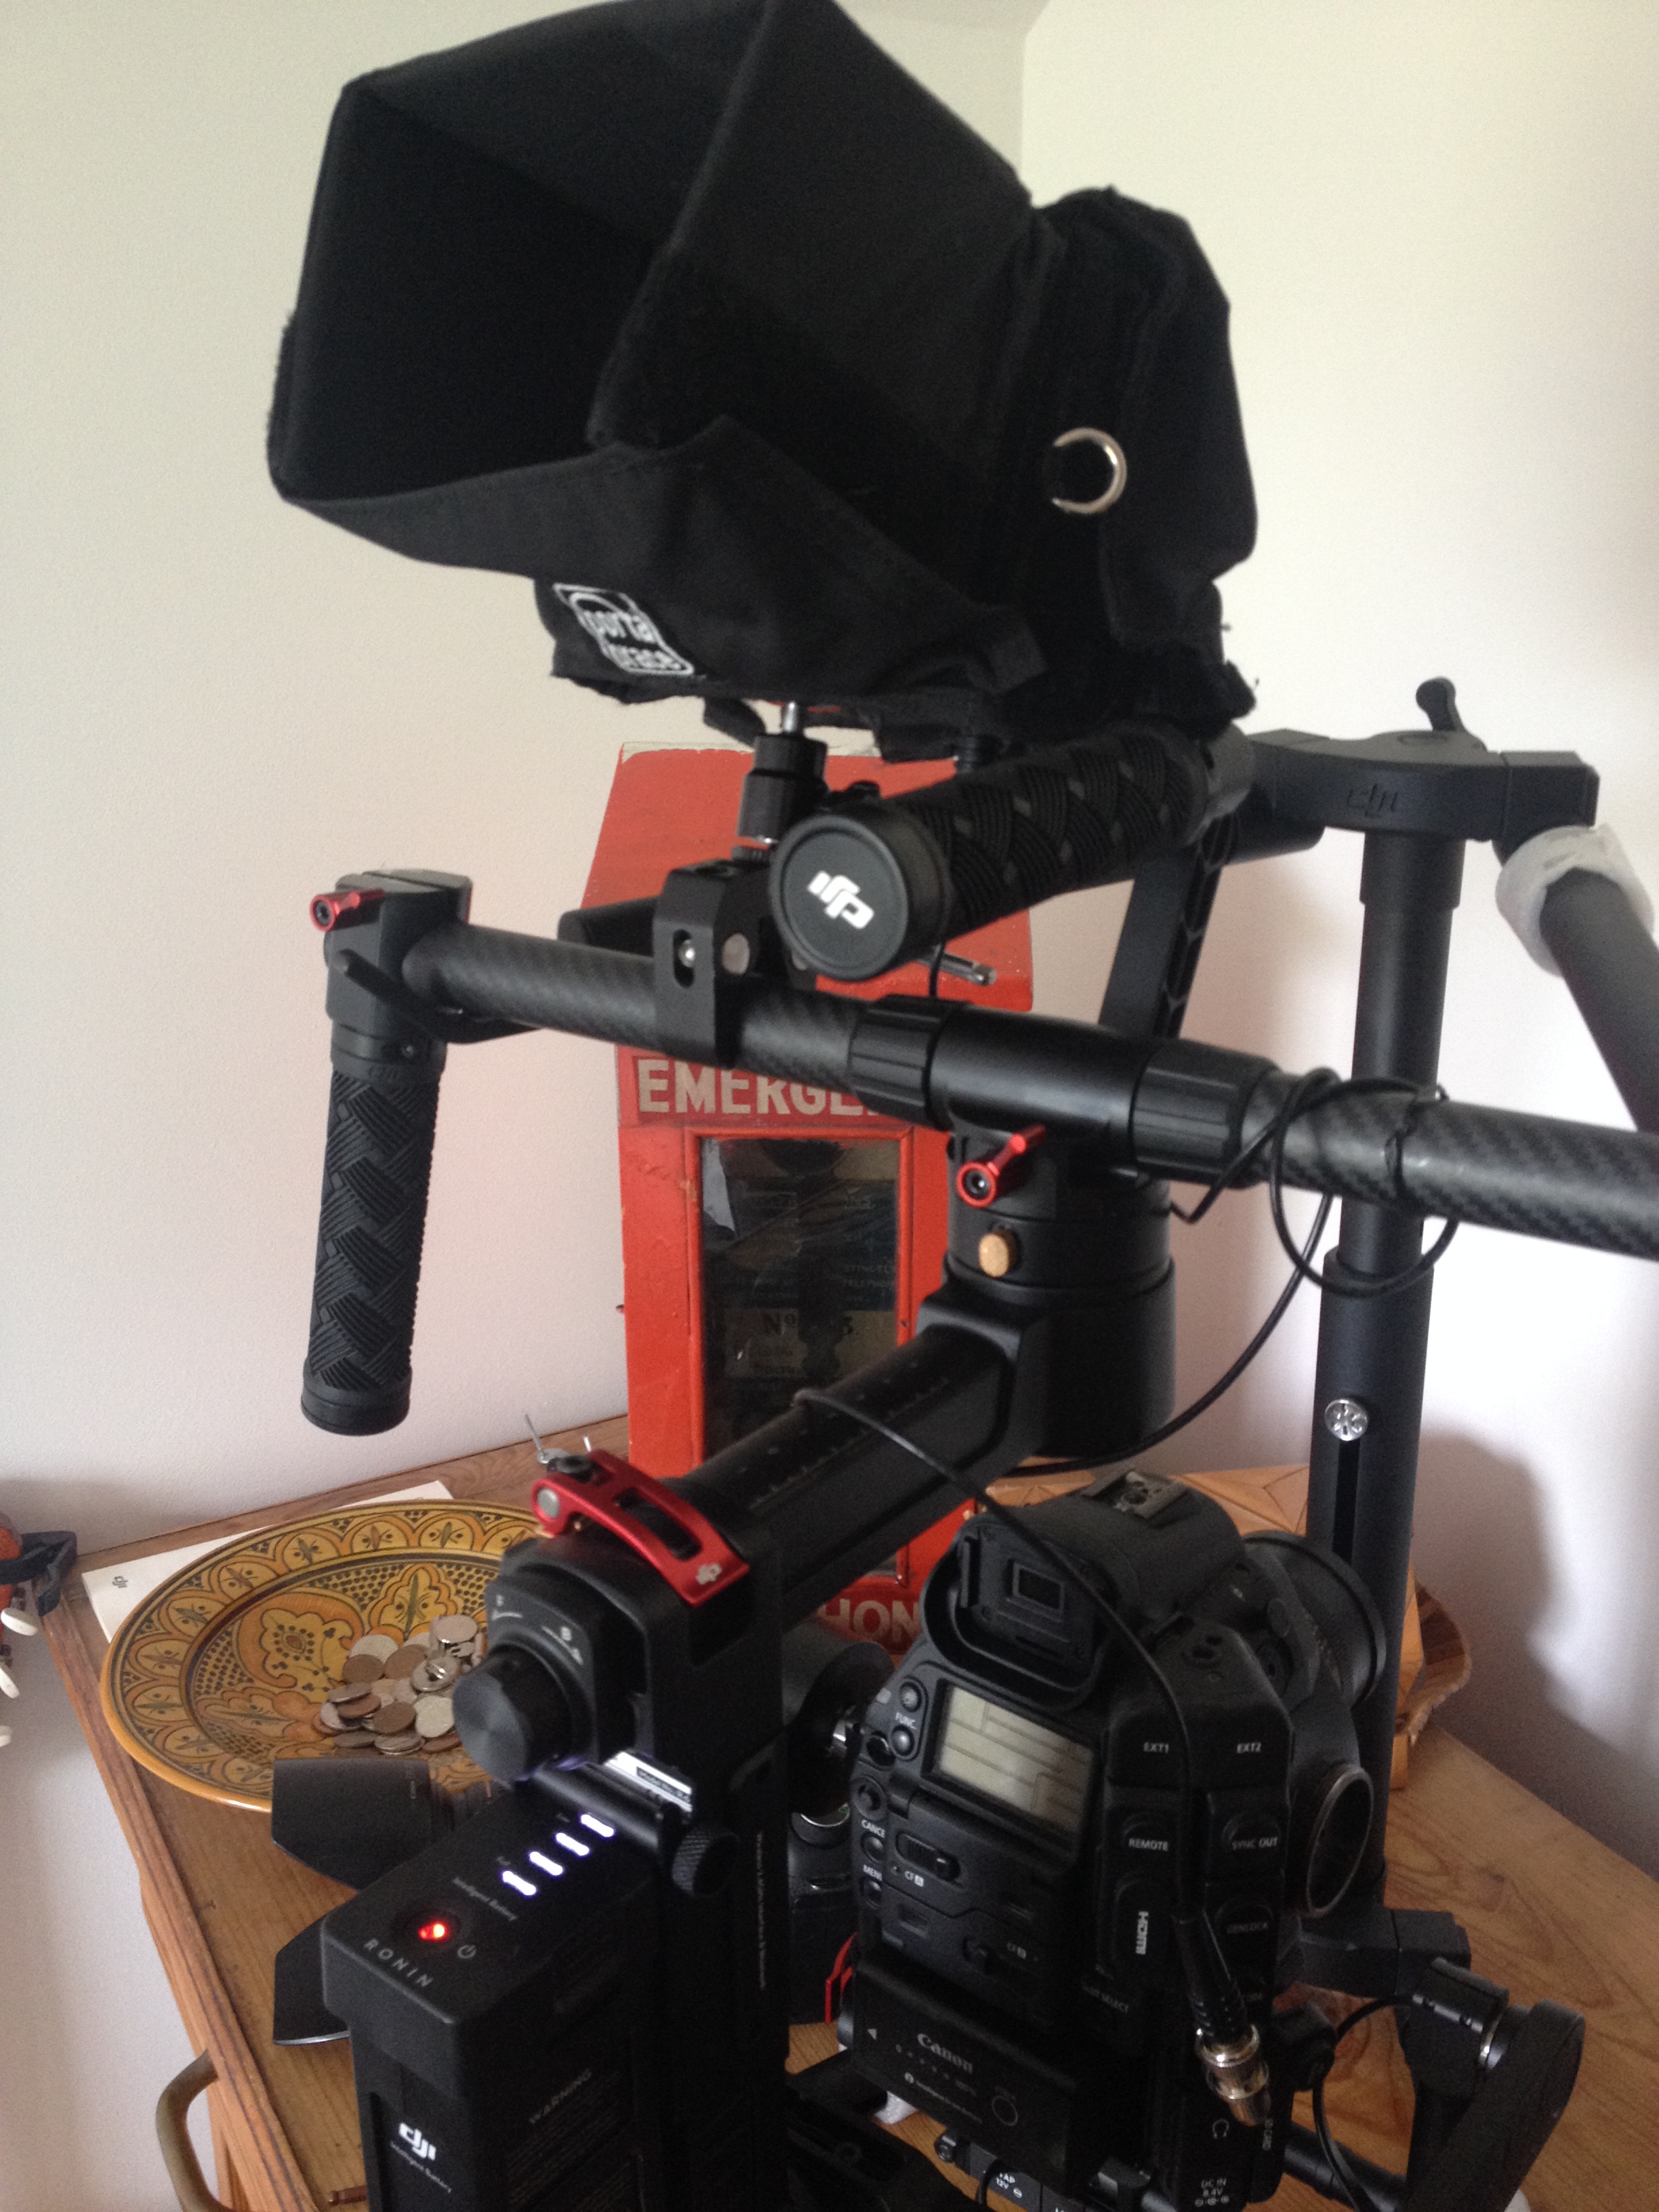
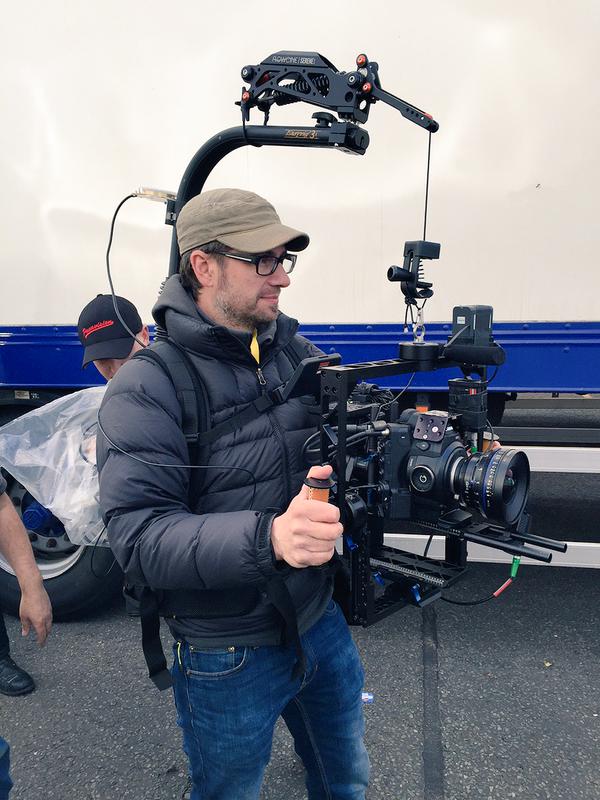
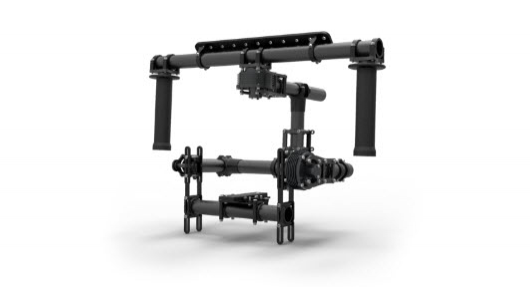
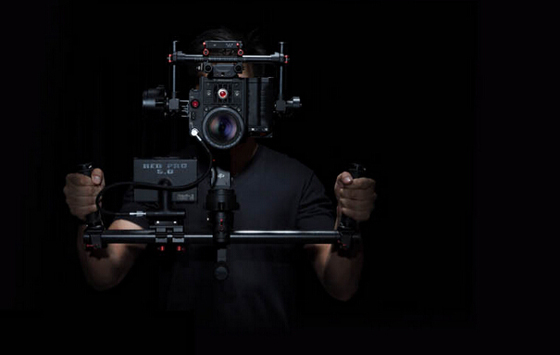
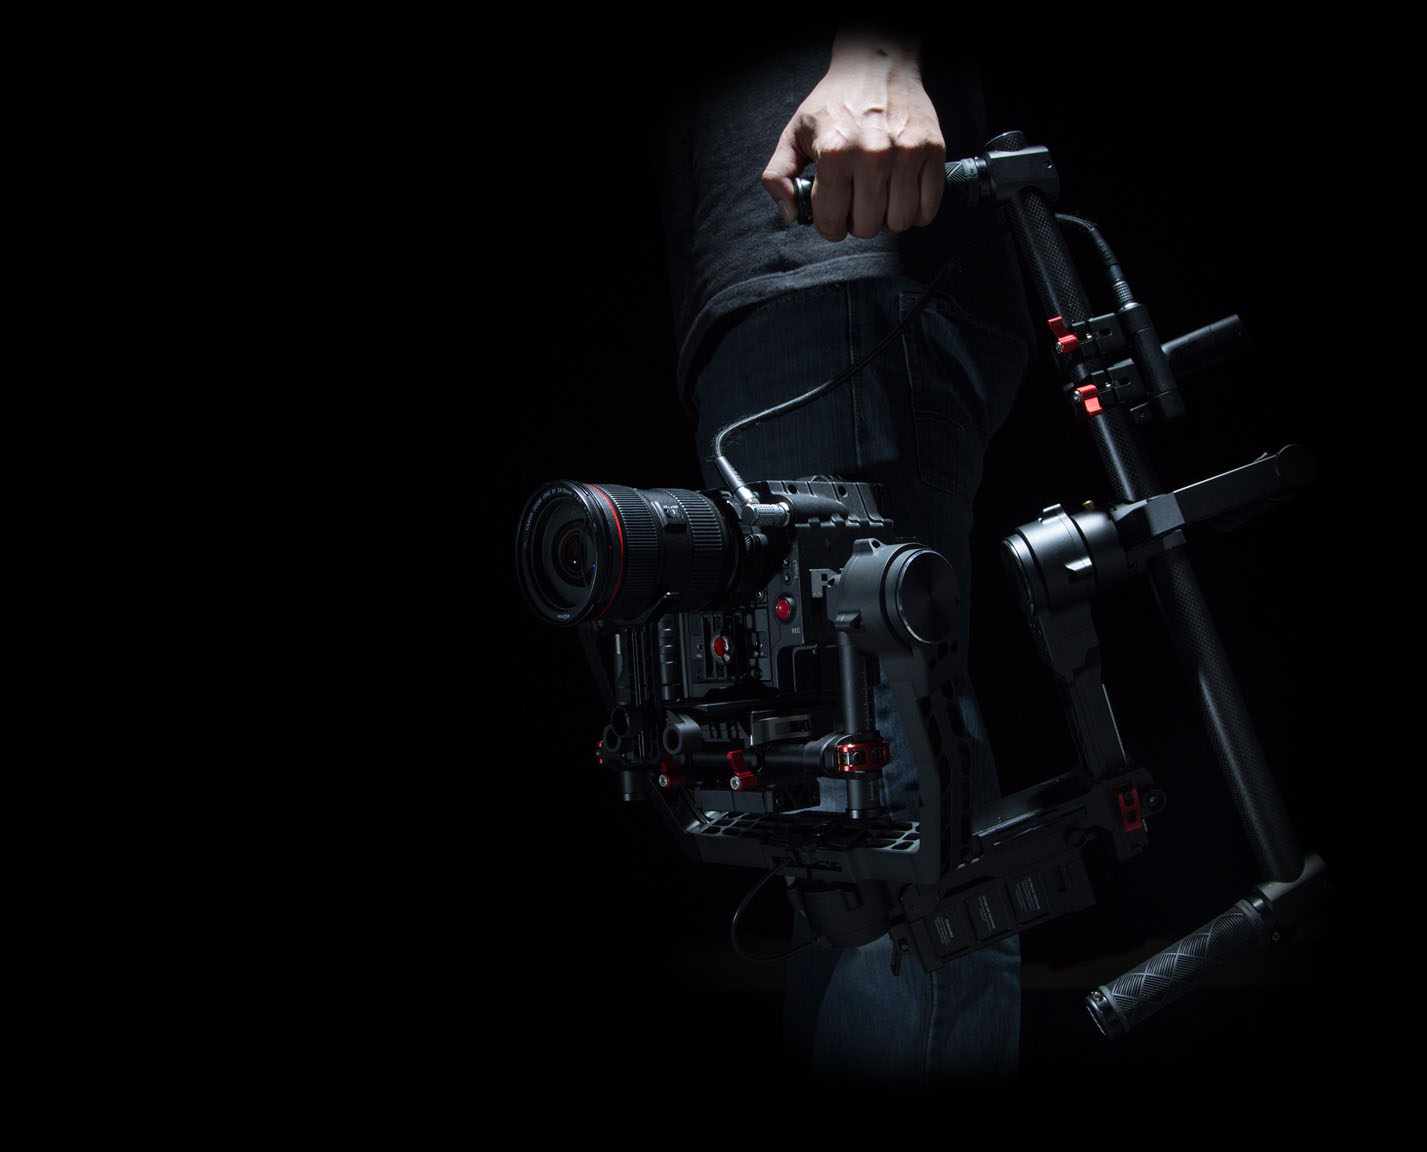
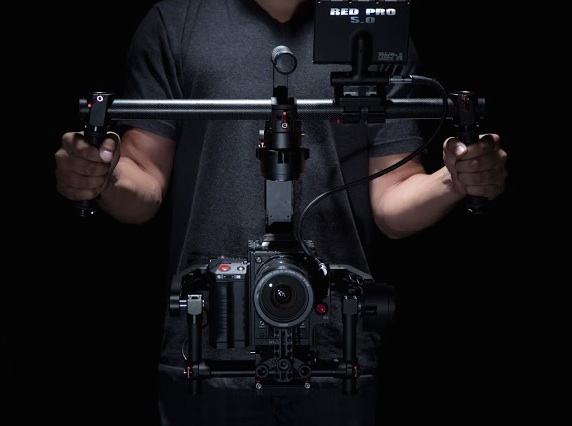
Another small but very useful improvement with the mark 2 is the addition of a small internal microphone. When you remove the LCD from the C300 mark 1, you remove all audio, so if you are mounting the camera on a Movi for example you don't have a guide track for synching in post - this is total pain for the editor. (The way round this is to plug an external mic into the mini jack once the grip handle has been removed - still not ideal though) The video below gives a good look around the new Mark ii.
The camera it seems is all over sturdier, it is heavier and built in a stronger metal housing. I think this is a big plus, the extra weight does't bother me a bit, in fact I actually prefer a heavier camera for balancing on the shoulder.
To recap the C300 mark ii has:
- Potentially a nicer image straight out the camera
- 12 bit 4:4:4 recording in camera
- Assisted focus, and auto focus
- Less good slow mo options
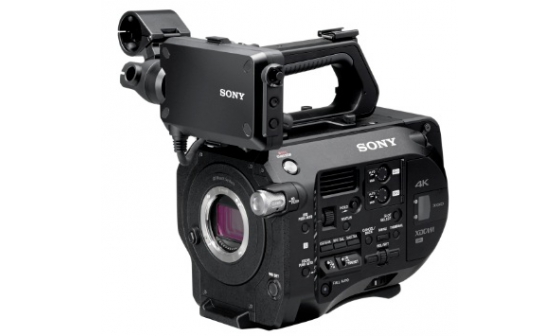
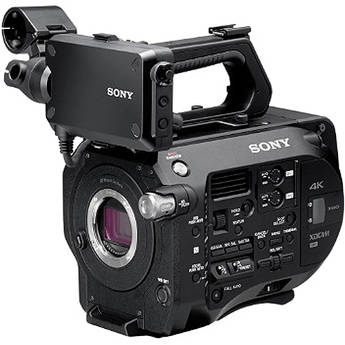
Sony FS7
So what about the FS7? The FS7 is insainly cheap for the stats it has. In terms of bang for your buck I don't think there is a better camera out there. The specs aren't a milion miles from those that Sony's F55 has for a fraction of the cost. When compared to larger cameras, it does feel a little plasticy, that said, it has a similar interface to many bigger Sony cameras, with many of switches at buttons in the right place, where a camera operator would actually want them. The fact that it is an E mount, might put some people off, to others it may be a plus. Personally I would feel a lot more comfortable putting a larger lens on an F5 or even a C300 markii than I would with this camera. It just doesn't feel that solid. That said it cost a hell of a lot less, so you have to expect some sacrifice.
So the specs are unbelievable, but what about the image? The camera has been selling well and is being used in all kinds of productions. On a personal note I find the look slightly video ish. Nothing out there has really blown me away, despite the amazing specs. I do prefer the look that the C300 markii puts out. On a general note, I often find Sony's cameras to have a vivid saturated look, going right back to the DigiBeta days; Canon by contrast has a slightly more muted filmic look. However, this is somewhat unfair as all I have seen of the C300 mark ii has been produced for marketing purposes, where as Vimeo and Youtube is full of videos put up by FS7 users, which probably doesn't show the camera in the greatest light.
In terms of colour space, the Canon C300 ii can shoot 4:4:4 internally, whereas the FS7 does 4:2:2. This is certainly a plus point for the C300. Colourists working in grading suits are certainly going to prefer working with the Canon over FS7 here, and that may push certain productions towards it.
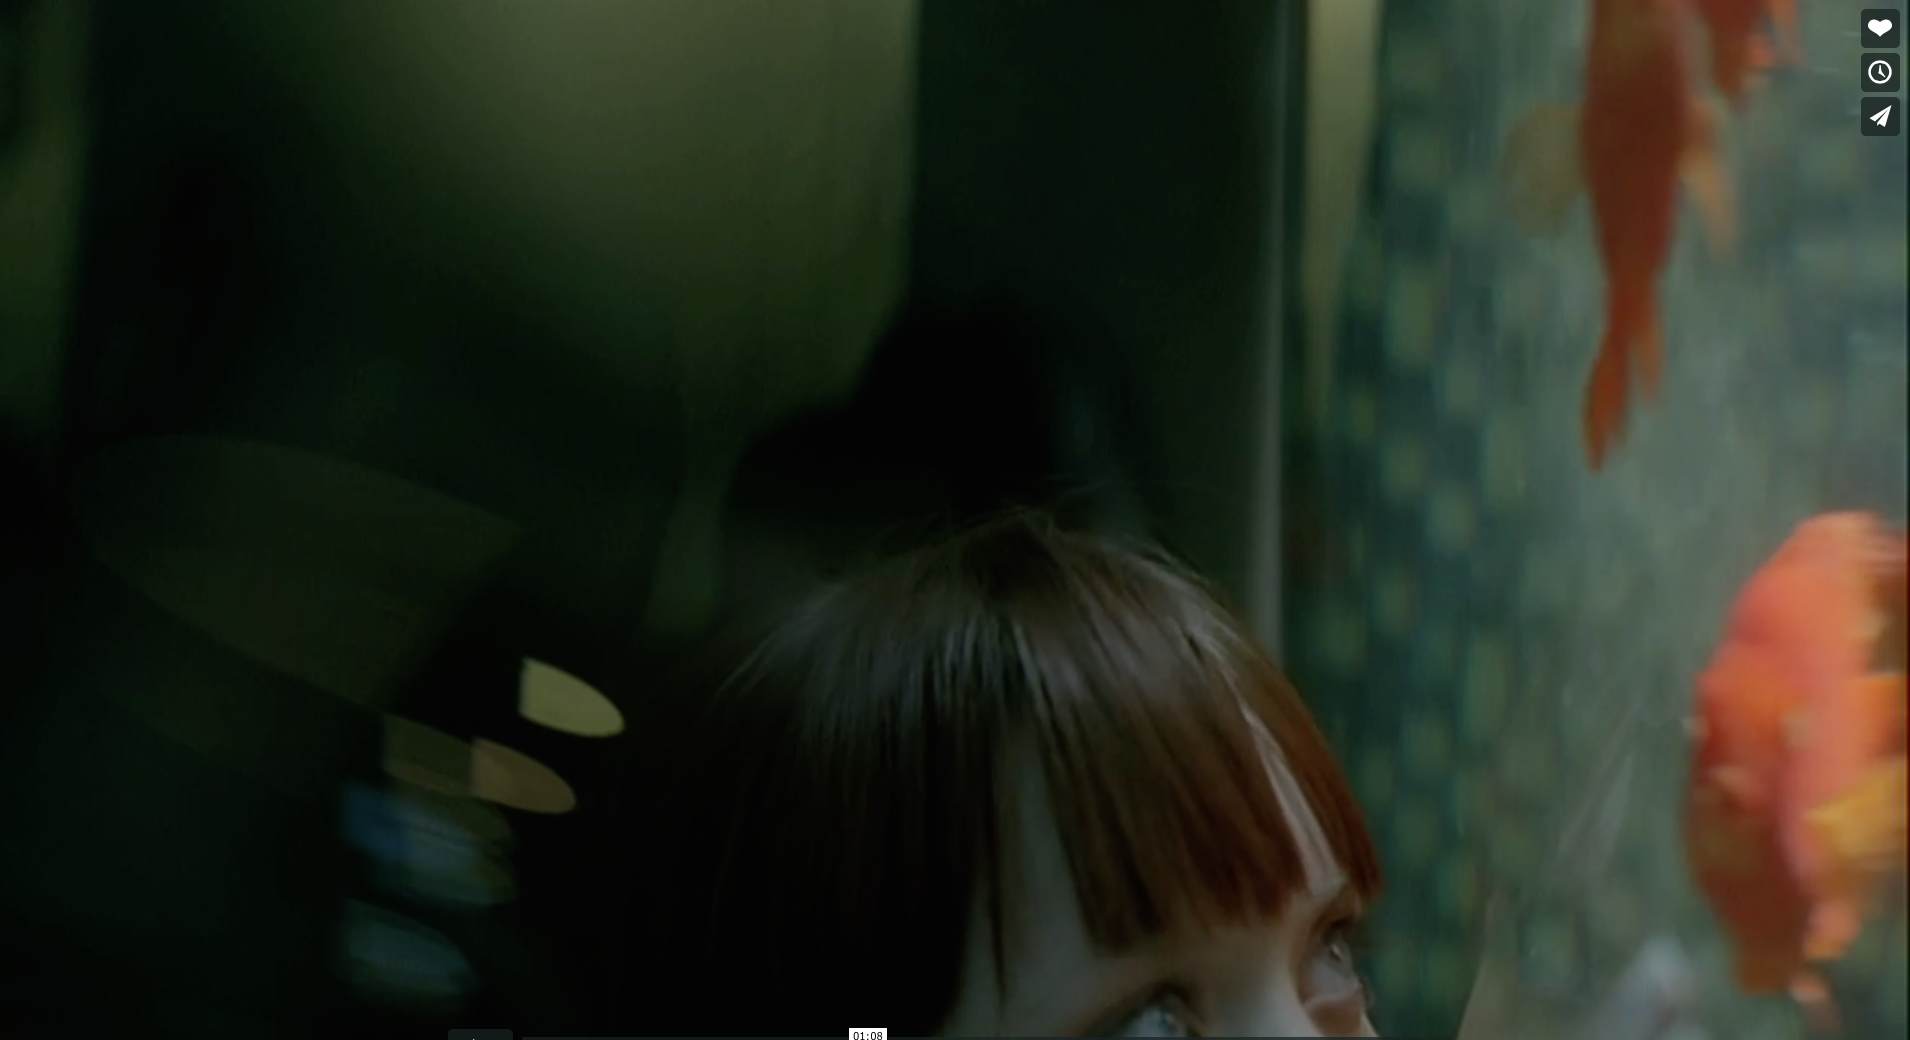
I have mentioned this video in a previous article, but if you haven't seen it, it compares the C300 to the FS7. The one worrying thing is the purple fringing issue here on the FS7. You can clearly see it if you look at where the trees meet the blue of the sky. Hopefully this is just a minor problem and will be fixed in a software update.
If you are interested in buying the FS7, it is well worth reading the whole article at The Delivery Men.
To recap the FS7 has:
- Lowest cost
- Good slow mo
- Slightly less robust than the other two cameras.
Update: As the release date of the C300 mark ii nears, more videos have come out that show the picture quality and how the focus assist and auto focus funtions work. The first mark ii video was "Trick Shot", I wasn't that impressed when I saw this. I am not sure if the camera was to blame, or not. Following videos have been more impressive. This is really worth checking out here, in a much more in depth review.
Will the masses of C300 owners upgrade to the mark ii, or switch over to Sony? How will Sony respond? They may decide to include 4k with the F5 and therefore dent mark ii sales (although this may dent their own F55 sales). The value to the C300 is now pretty low with the recent price drops, so it would be a fairly big chunk to invest in the upgrade to mark ii. The way camera technology is changing, everyone is looking to upgrade and the question becomes when you are going to make the next purchase, rather than if.
Canon started with great colour rendition and have worked to improve it with the mark ii, so the question will be: does the camera produce better pictures than Sony's cameras? Having slow motion is a nice feature, but it isn't something that is used everyday by most shooters. There is also the question of demand. Although as camera operators we can nudge production towards one particular camera, often a programme will already have a set camera they want to use. The fact that a huge amount of TV is already shot on C300, will no doubt mean many people will want to shoot on the mark ii. The F55 is also very popular out there, but has a very different price point.
If you own a production company specialising in corporate work, it is probably a no brainer. For the price of the C300 mark ii you can almost buy two FS7s. I find it hard to believe many clients will be unhappy with the "look" the camera produces, and if they are, you can work on the colours in post. If you are a DP, or self shooter, it is a trickier proposition. You hand your images over to production and they judge you on this.
In the end I'll base my decision mainly on the look coming straight out the camera. I am not that into the ergonomics of the mark ii or the FS7 but I know I can deal with it. I also know any of the three cameras in the right conditions, and with nice lighting, will grade up pretty well, however, I want camera that will put out a great image that the director will be happy with ungraded. For fast turn around shoots this is essential. Once the camera is released there will no doubt be many side by side comparision videos. I think I'll wait until then before spending any cash. If I had to guess, I would say the broadcast world are so enamoured with the C300, that this trend will continue over to the mark ii and there will be a high demand for it.
A cheaper option than the mark 2 is the original Canon C300, compared here to the FS7 .
And a more in depth look at the mark ii here.


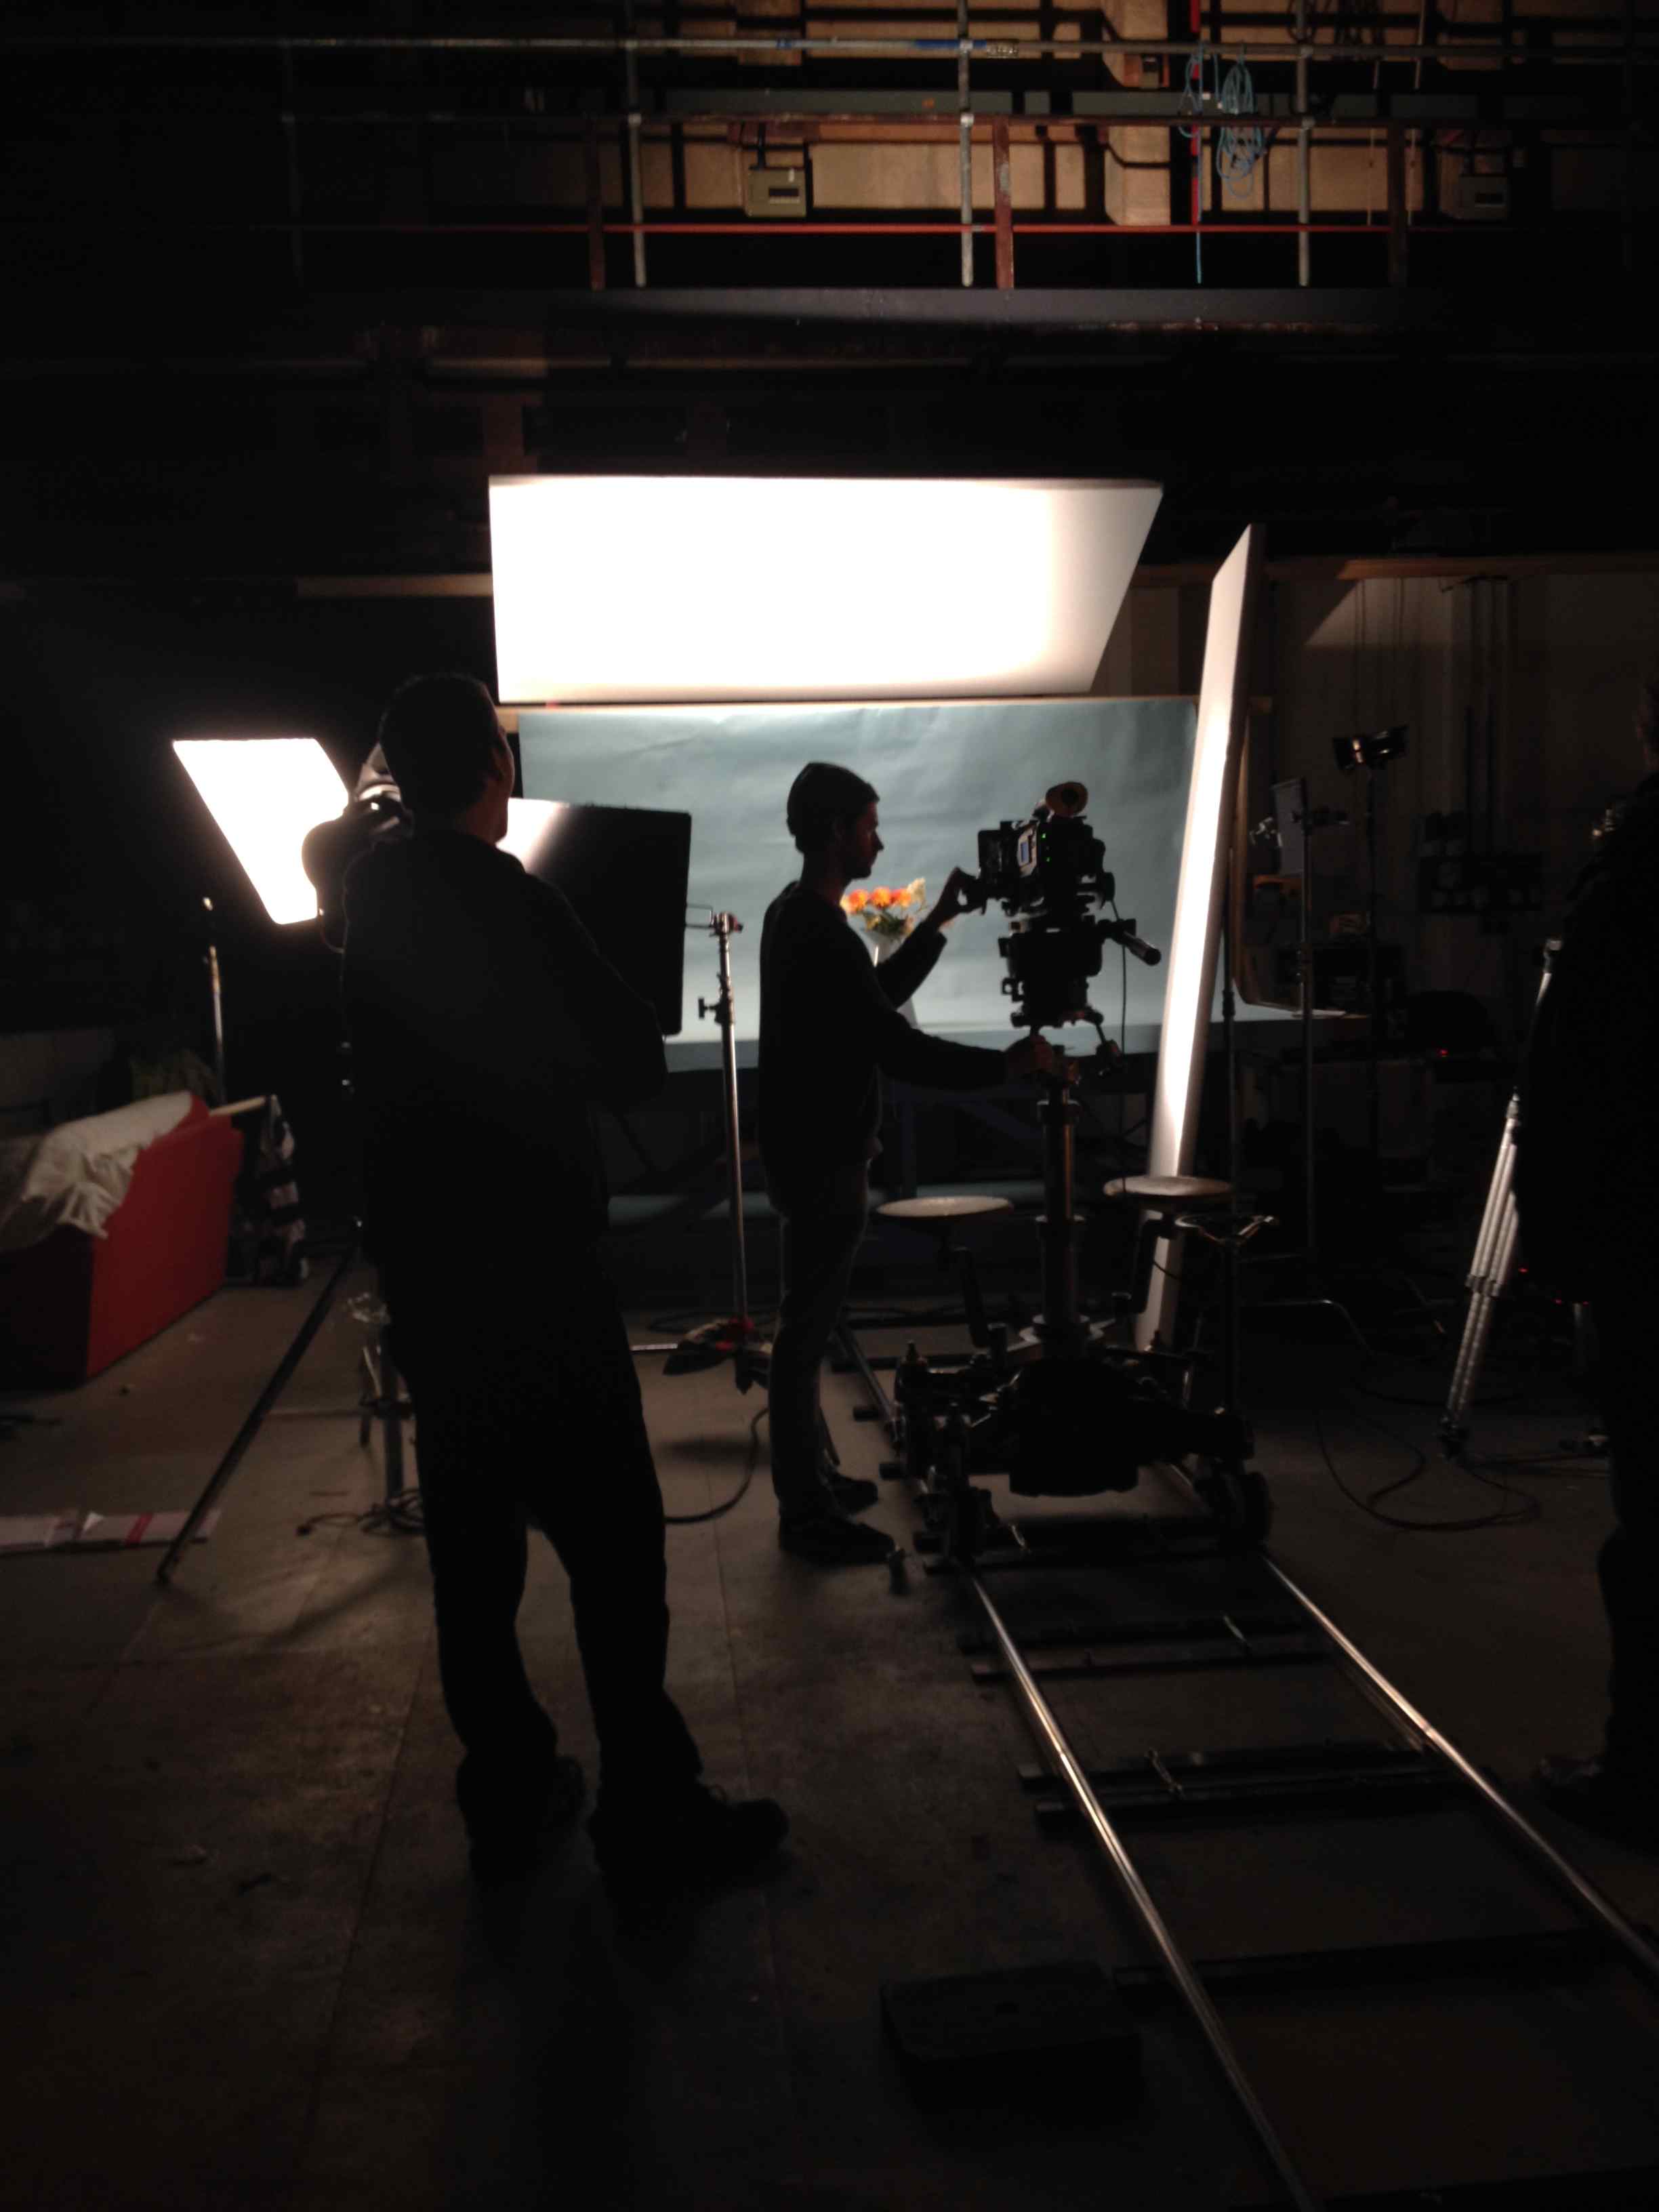
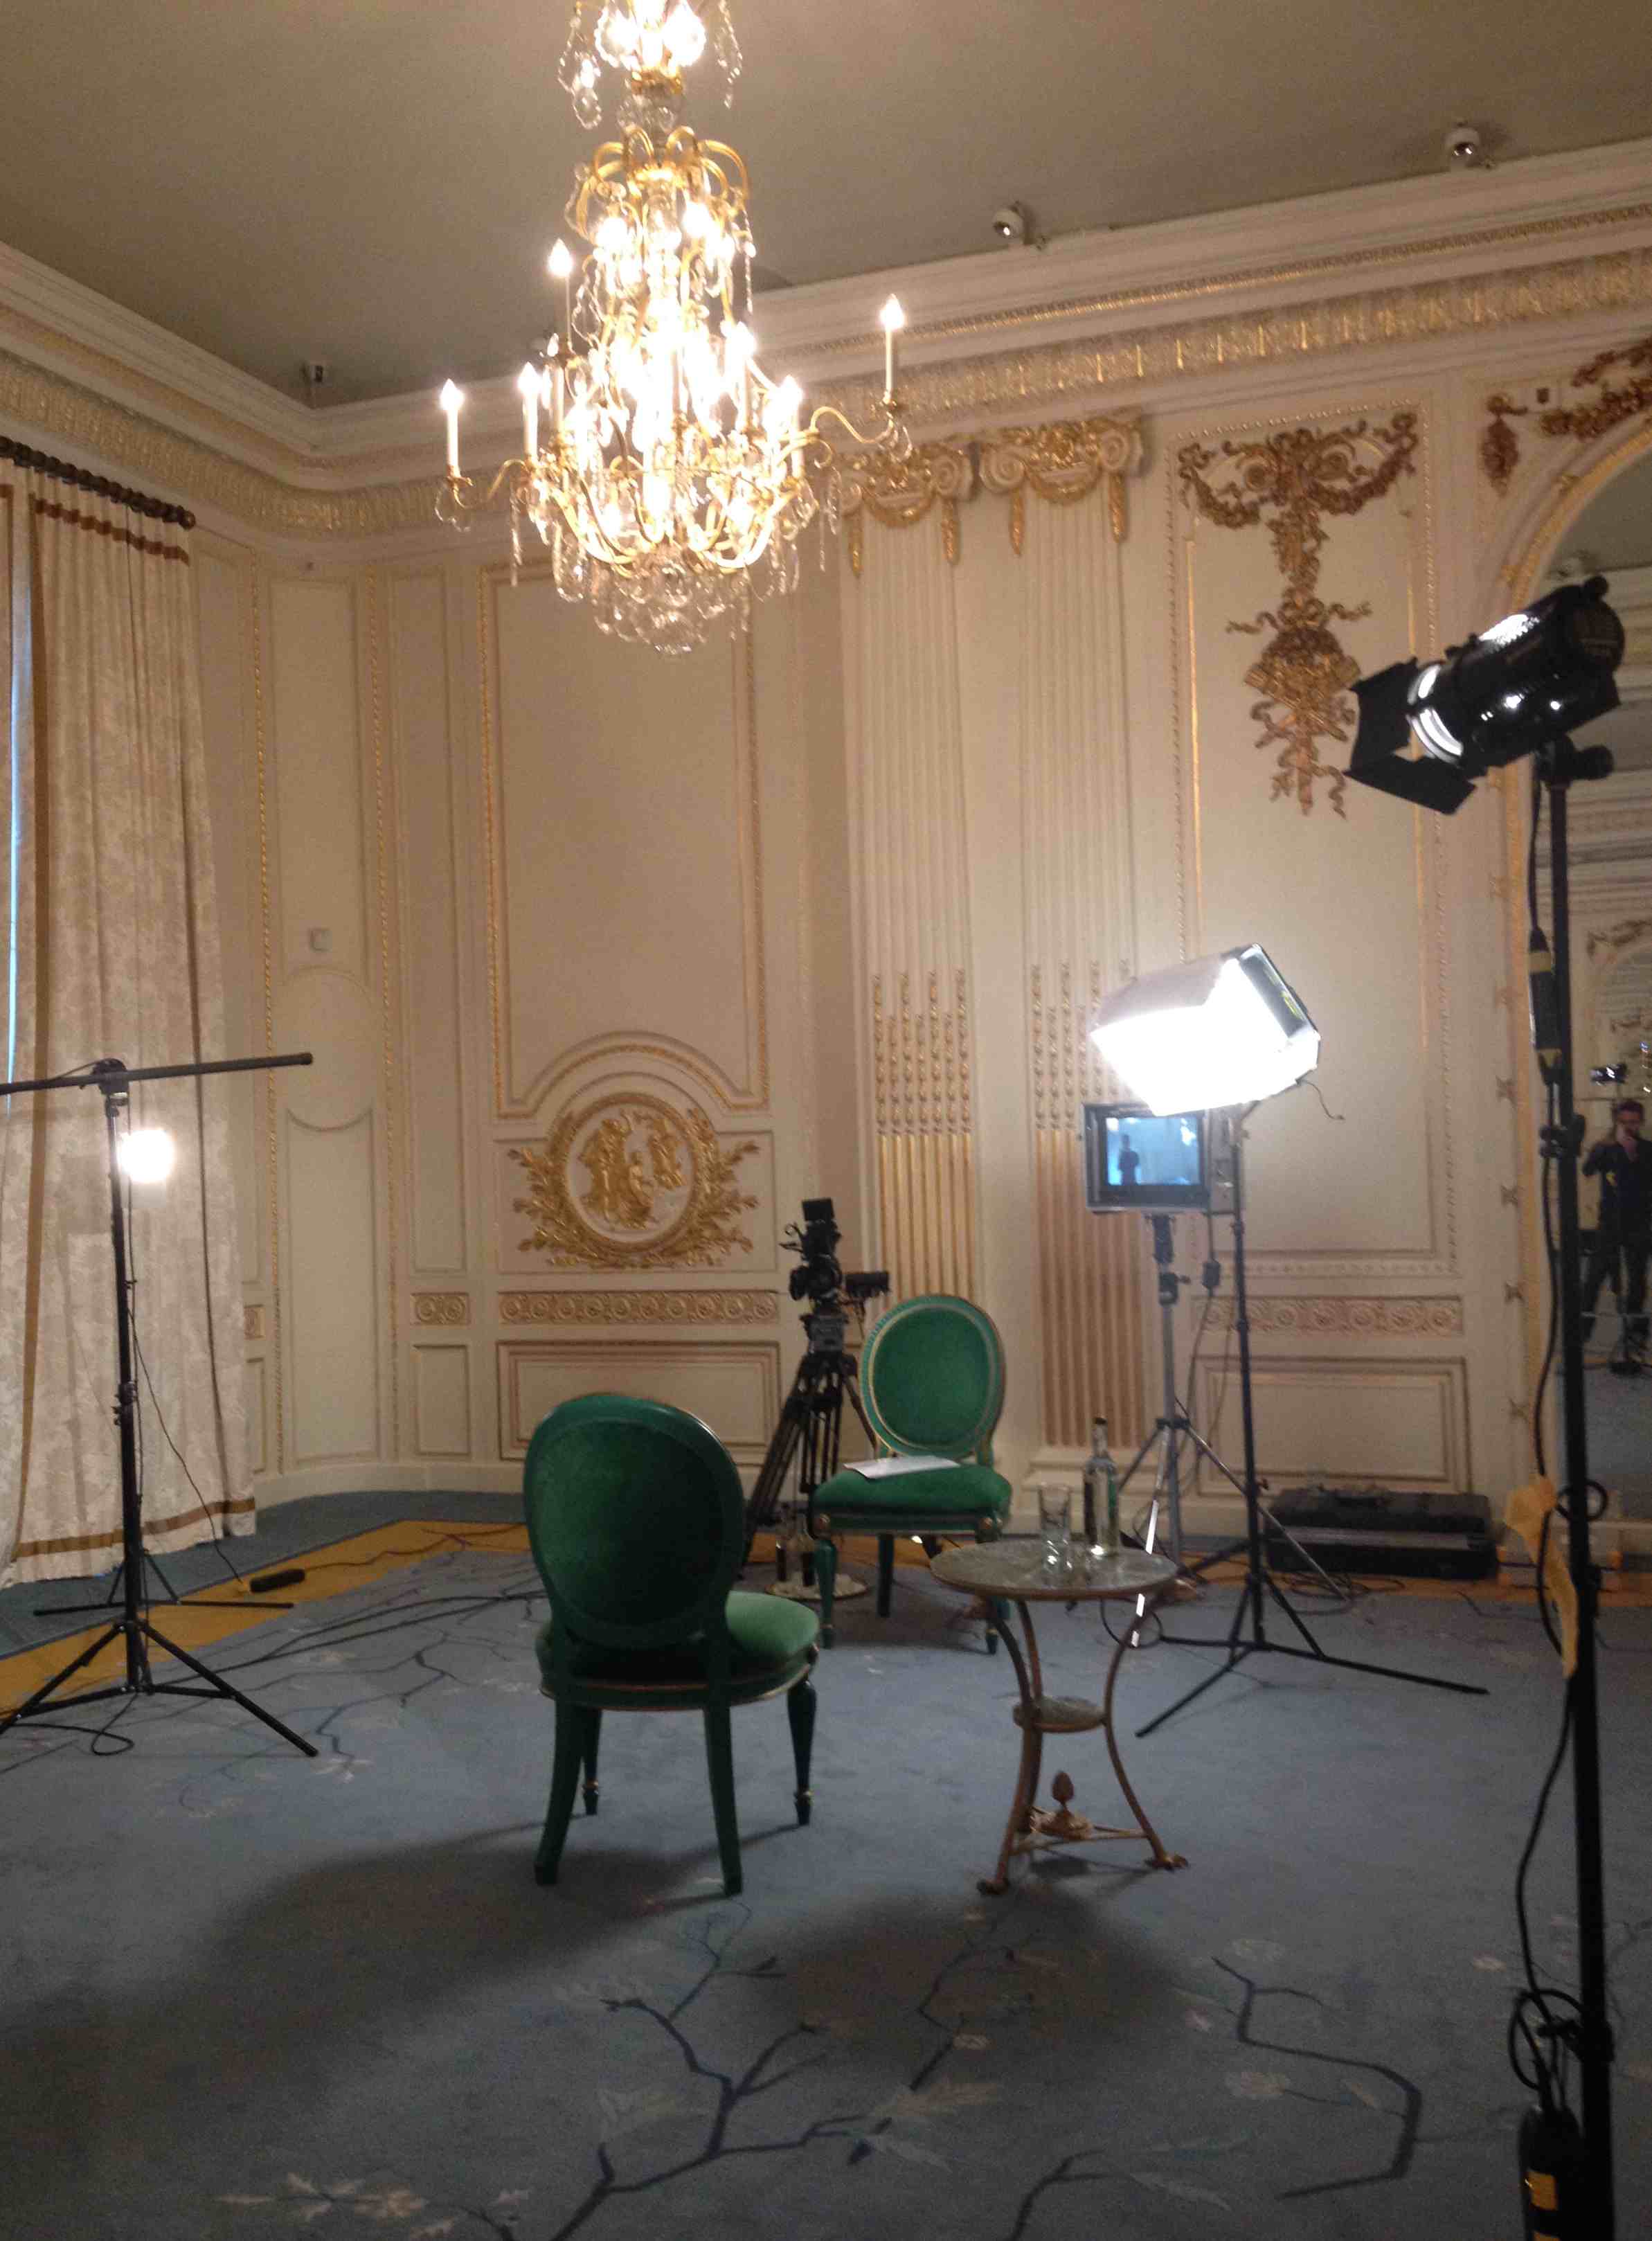
 Over the week we shot: pack shots, daytime studio scenes, night time studio scenes, daytime scenes outdoors and nightime scenes outdoors. The group was split into two, so you have four people per group, each person taking it in turns to be the DP, focus puller, operator or assistant. There is also a highly experienced team around you. We had a fantastic Gaffer, a really experienced Camera Assistant a Spark and Grip. You end up learning just as much from each of these people, as each one of them is an expert in their own specific field. On several days there were also two actors and a sound recordist. Having the actors and sound really helped bring things to life.
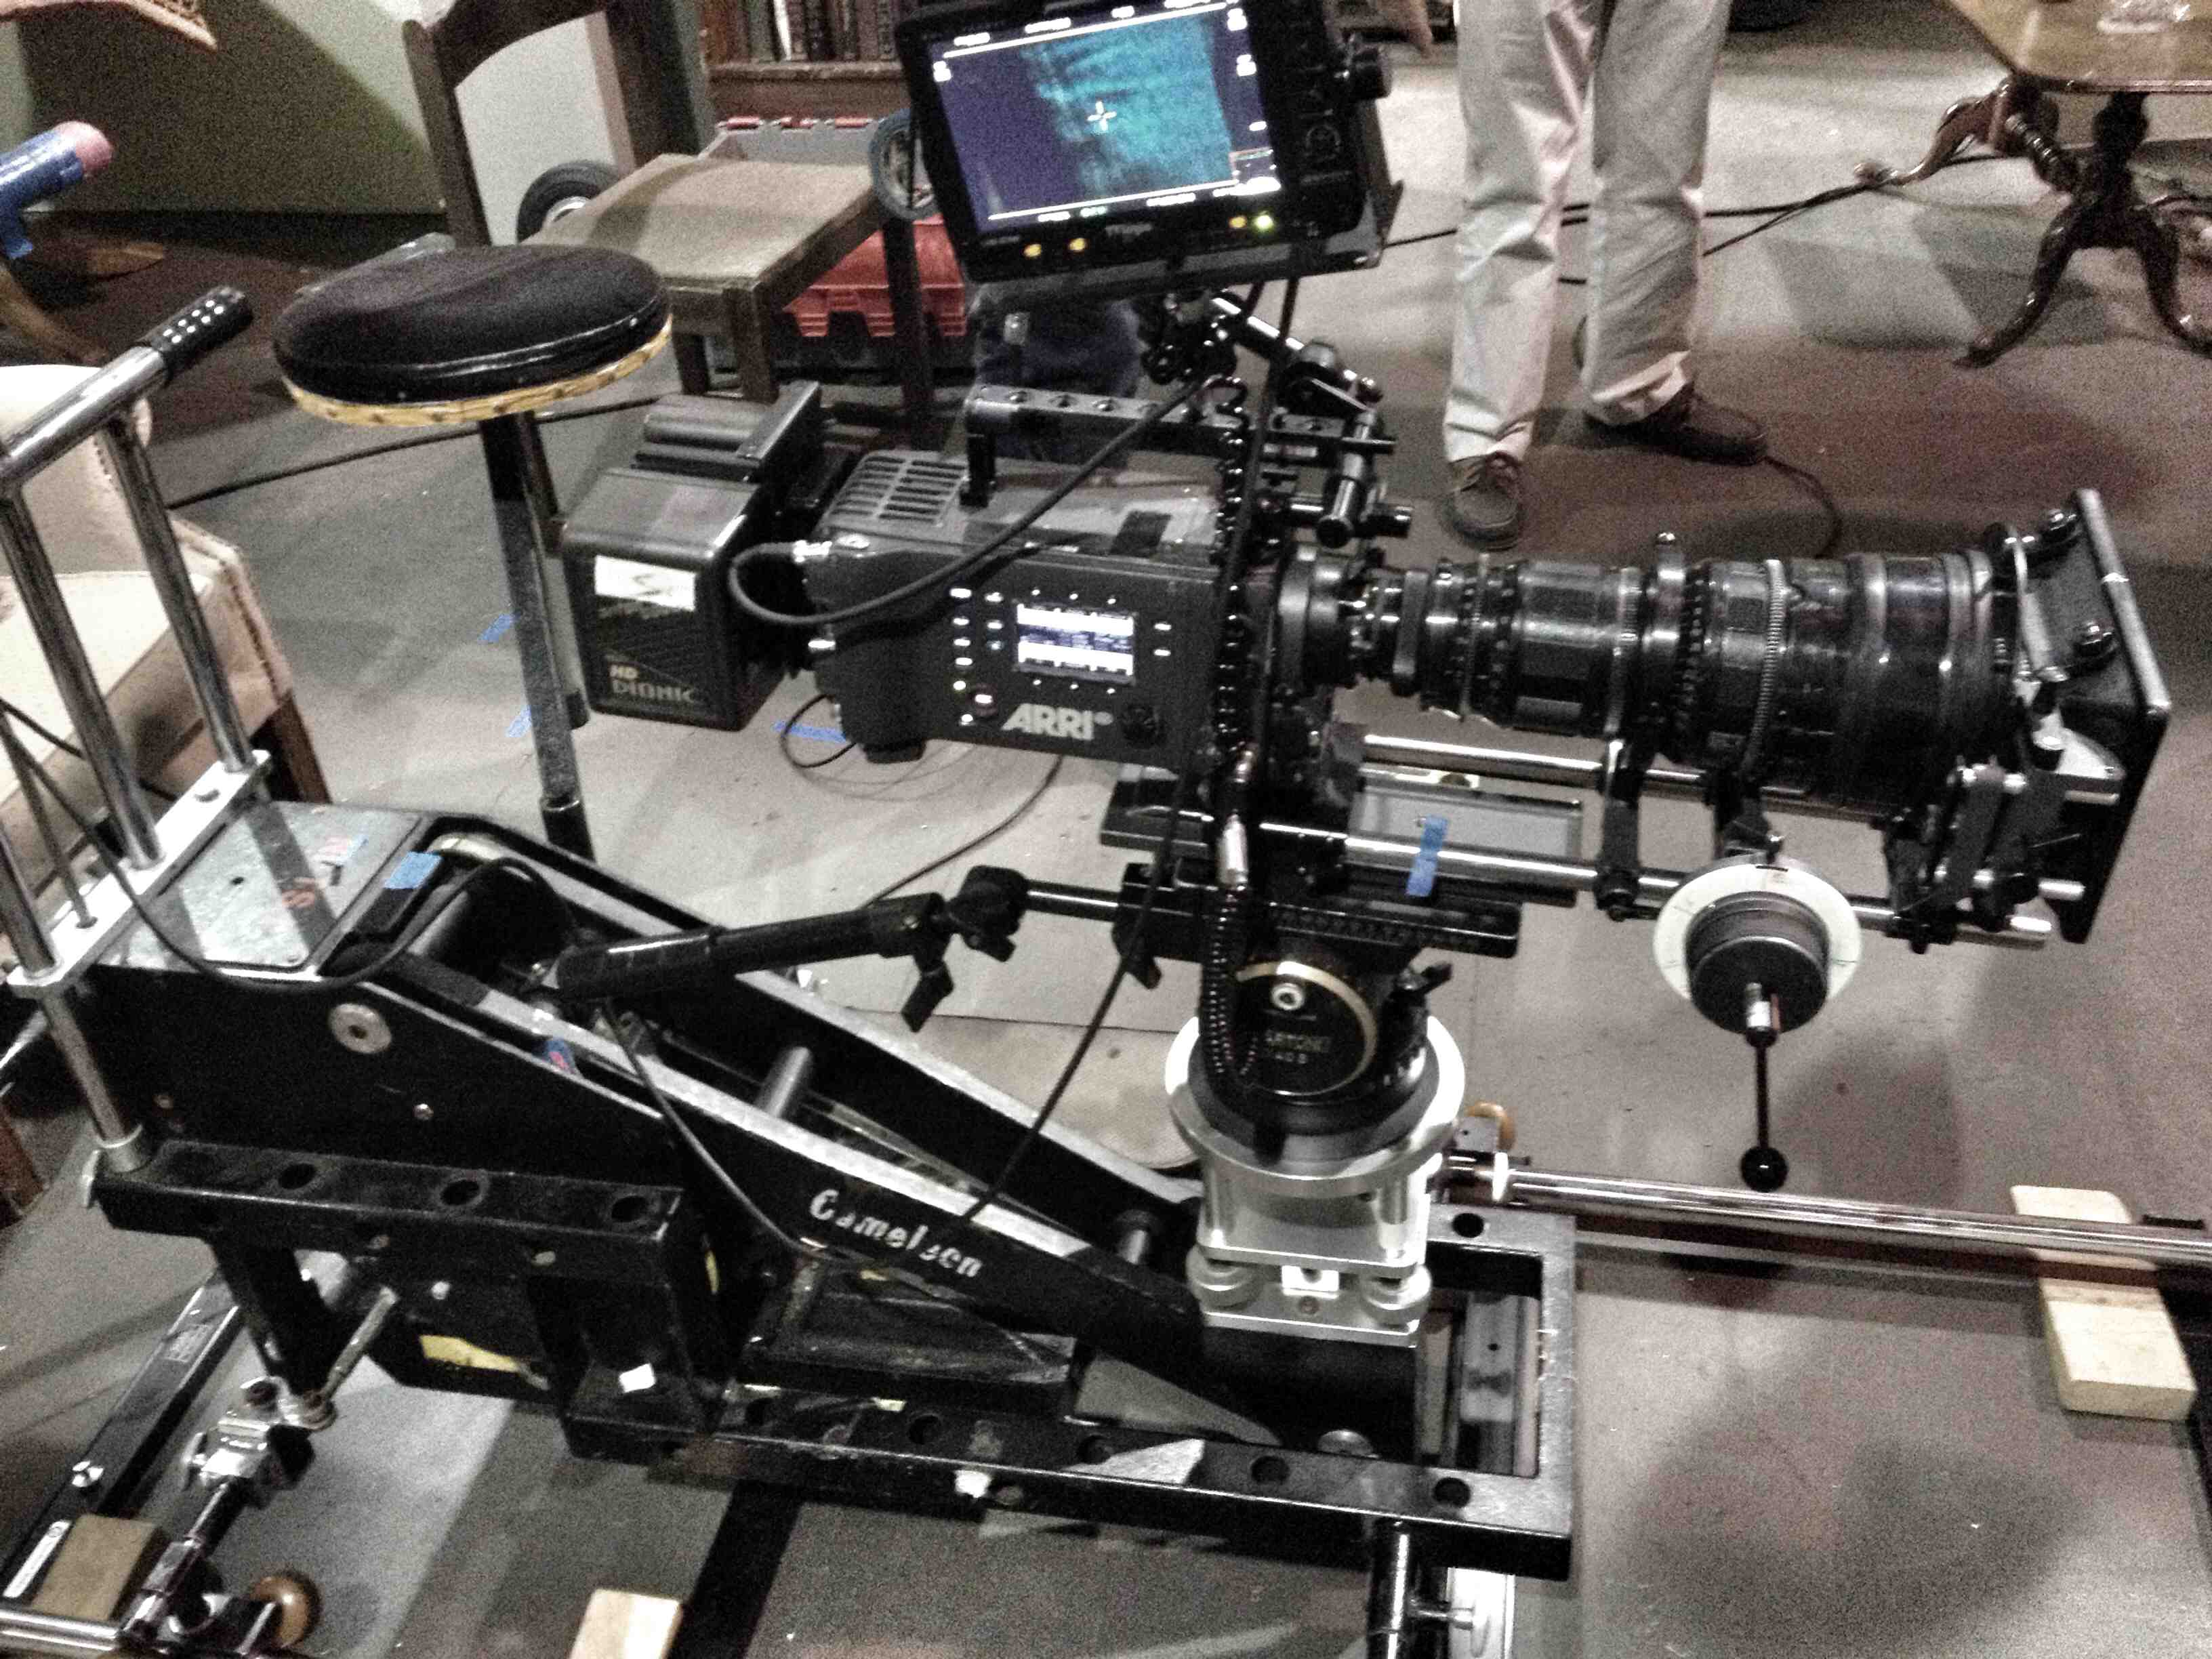 The cameras are always cabled up to a large monitor, so at any point you can go and check your work. Sometimes both groups work on the same scene, so you can flick between the two monitors and see how each one is set up and being operated.
 Apart from learning to light, you also pick up a lot of film making techniques. Being a lighting cameraman I have always pulled focus for myself looking at the monitor. Pulling focus for someone else, I learned to make measurements and feel the pace of the action and look at the distance marks, rather than looking at the monitor. It felt odd at first, but once I gave up looking at the monitor and relied on the marks everything fell into place.